Since I’ve become more involved with amateur radio – including getting my Extra class license – I decided that I wanted to get a vanity call sign. My original call sign, KB3RLM, was assigned sequentially by the FCC when they gave me my initial license. That’s how it works for everyone at first.
A lot of people stick with their initial call sign for their entire lives, and that’s totally fine to do. Once you establish yourself on the airwaves, your call sign is how everyone knows you, so it can be tricky to go through a change because then you end up having to re-introduce yourself. It’s a lot like getting a new phone number.
So why bother changing? Well, there are several different types of call signs, so lets break down the structure of the system quickly:
All U.S. call signs start with either an A, K, N, or W. The original one that I had was what is called a “2×3” – a two-letter prefix, followed by a numerical region code, and then a three-letter suffix. The region code of “3” is assigned to licenses from Delaware, DC, Maryland, and Pennsylvania. One of the advantages of the sequential system is that it’s easy to estimate how long someone has been a ham (at least within your own region). I got KB3RLM in the summer of 2008, while my son Isaac got his KD3BSR in the summer of 2025.
If you have at least a Technician license, you can apply for a “1×3” which in the U.S. begins with K, N, or W, followed by a region code, and then a 3-letter suffix. These are fairly popular because these used to be handed out sequentially until they ran out of them, and a lot of folks try to get their initials in the suffix. The most sought-after call signs are the “1×2” (like my friend N3RY has) and “2×1” (like my friend WQ3Y has). These are the shortest call signs that you can get and people who are serious about making a LOT of contacts in a short amount of time (like during radio contests) find these to be very desirable. This is especially true of folks who operate with Morse code (“CW” in ham lingo). The “1×2” and “2×1” call signs are only available to holders of the highest-level Extra class license. That’s your incentive to study hard!
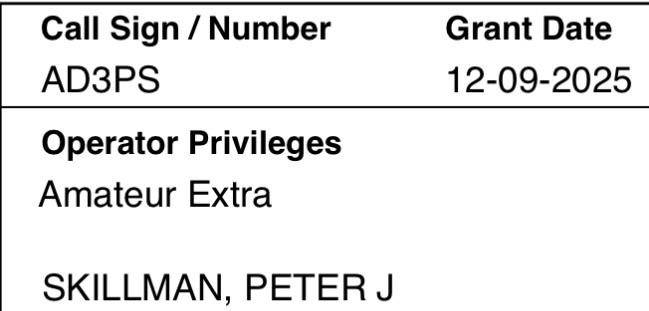
But contests don’t appeal as much to me. When I applied, I was trying to get a “1×3” that incorporated all three of my initials in the suffix. Unfortunately, I hit a snag because of the 2025 U.S. Federal Government Shutdown and the call sign that I wanted had it’s expiration date extended after I had applied. The call sign that I ended up with – which is still a very fine call sign – is AD3PS.
My new license paperwork.
This is a format we haven’t discussed yet, the “2×2”. It was originally available to the holders of the old Advanced class license (beginning with a K, N, or W), and since the Extra class is a higher license, we can apply for them as well. In fact, a “2×2” that begins with an A is ONLY available to Extra class holders, and if you ask for a new sequential call sign on your paperwork when you get your Extra license, you’ll get one of these.
So my new call sign immediately identifies me as an Extra class ham, from Maryland / Delaware, and I was able to get one with my initials, PS, in the suffix. I’m pretty happy with how it all turned out.
If you’re thinking about getting a vanity call sign, I can highly recommend the websites radioqth.net, which has a very useful search tool; and ae7q.com which has a TON of different ways to look up licenses and even does application predictions. Once the change goes through, be sure to check out this post by Colin Cogle for a checklist of all the things you need to update in our digital ham radio world. All of these sites were very helpful in getting me through the process.
There is a lot of spirit in the building I work in. It’s a really terrific environment. There is a core group of folks who find ways to do little celebrations throughout the year, and it makes work a genuinely fun place to come every day.
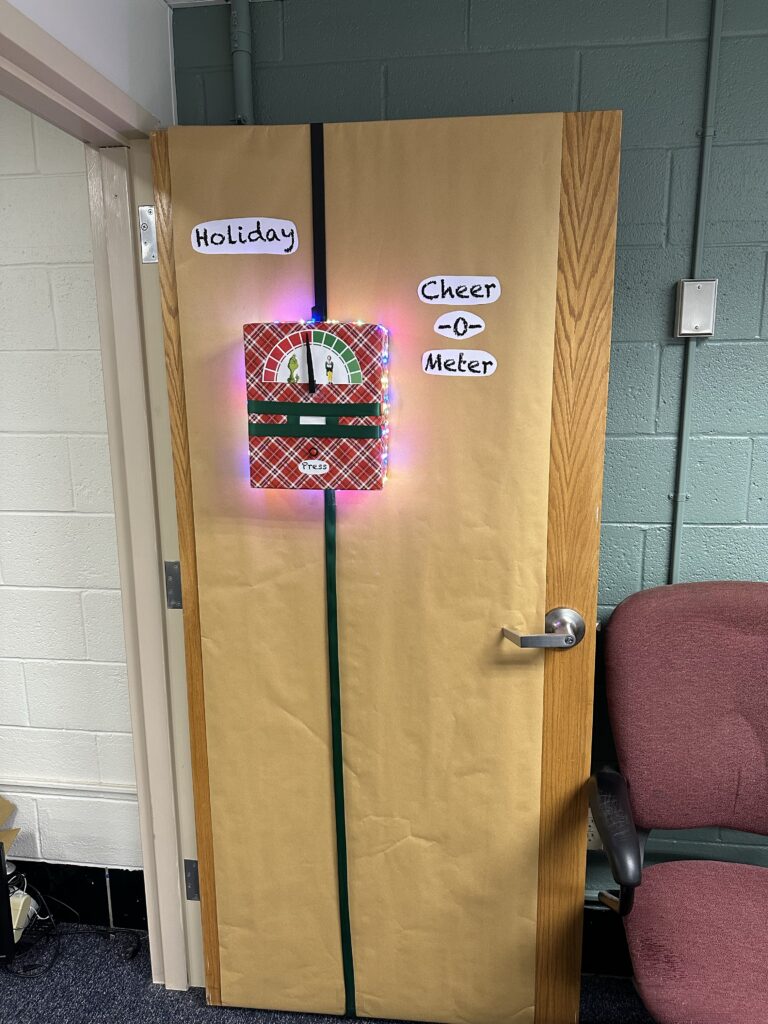
Among the events planned this holiday season is a door decorating contest. Now as the sole IT guy in my building, I have my own office space with a door and I’m kind of on my own. I’m not particularly creative or “crafty” but I started to think about how I could bring some nerd flavor to the contest. I knew I wanted to use an Arduino microcontroller and a few of the assorted electronic parts I have around the house. The thought occurred to me to create some type of Holiday Cheer-o-Meter.
The more I thought about it, the more excited I became. When it comes down to it, I wasn’t as concerned with competing – I just wanted to see if I could make my vision come together and actually work. I also thought this would be a fun project to bring the boys in on. I explained what I was thinking to them and Isaac immediately wanted to help with the circuit design and programming. The Sunday before Thanksgiving we got to work.
How can we make it work?
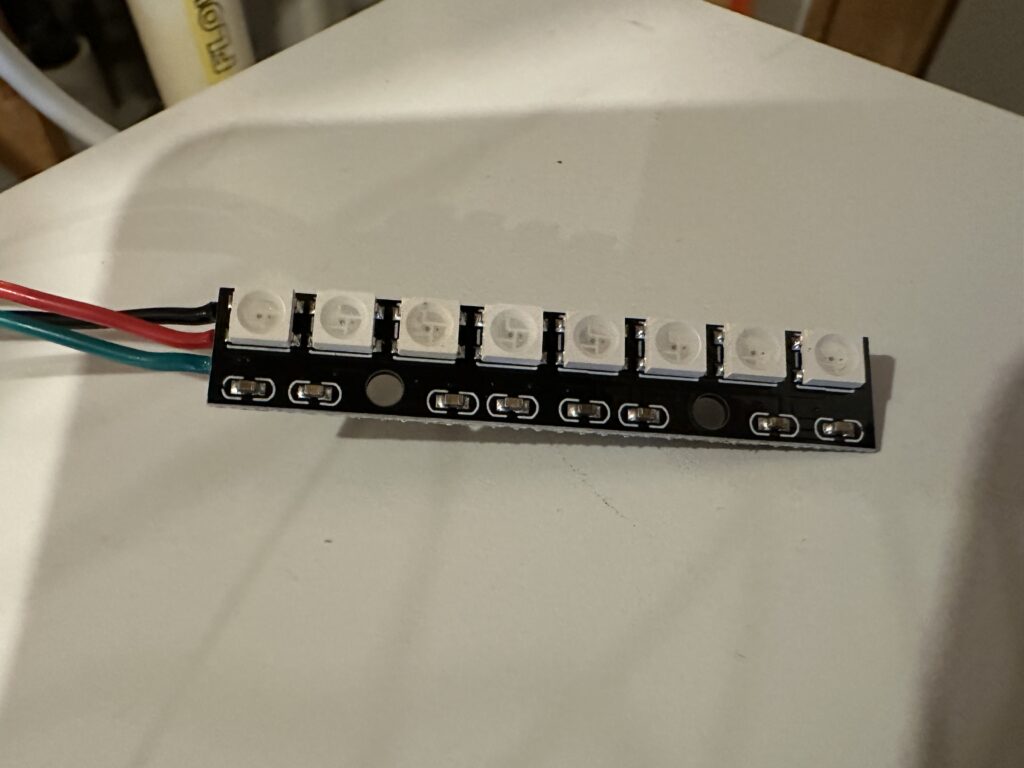
Being a holiday decoration, it’s going to have to incorporate some lights. It would be nice if I could run them all from the Arduino, and if I could do fancy things with at least some of them. I found some cool RGB LED arrays on Amazon that are controlled with a WS2812 chip. This means I could have 8 color-changing lights in a tight row while only using 1 of the control pins on the Arduino. That would become our “scanner.” While we were out with family at Homestead Gardens, I also found some very tiny (and inexpensive) battery-powered string LEDs. Since these used 3 AA batteries, they would be easy to run off of the 5V power rail in the Arduino.
The cool RGB LED array we were able to use in the project.
The meter itself would be made from a servo motor, allowing us to control the position in degrees with some simple code. For a fun twist, we also found a “pitches” library that allowed us to program music to play through a small piezo buzzer when the meter showed its reading.
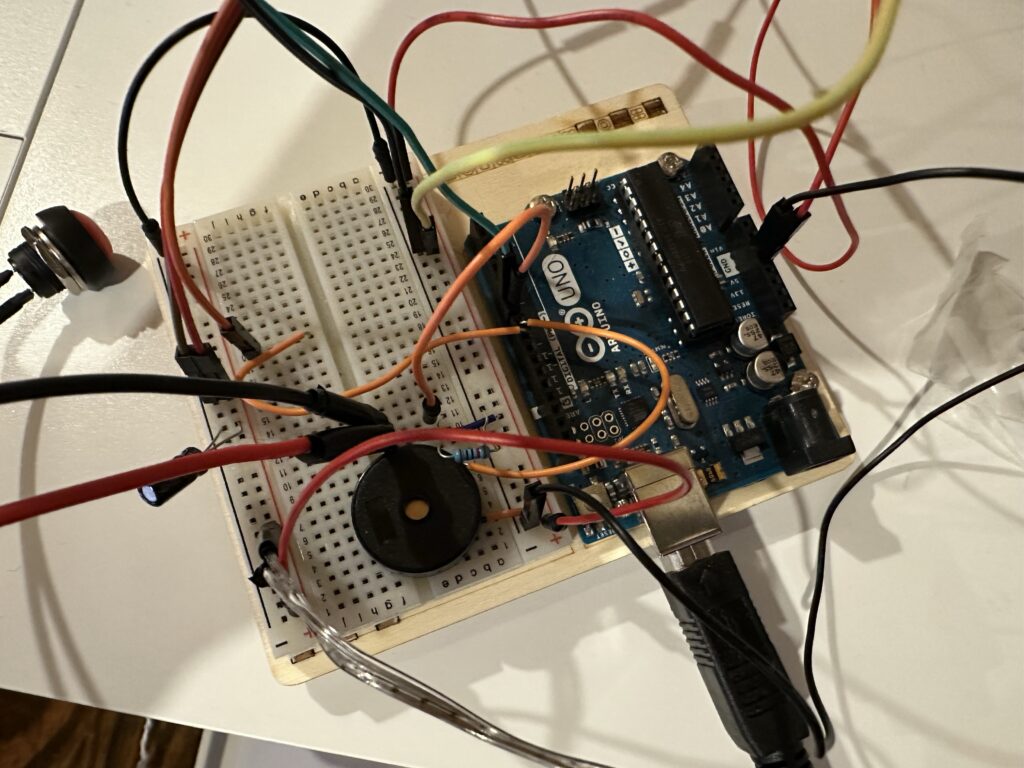
All told, it took a little more than 2 hours to do a tiny bit of soldering, put together the circuit on the breadboard, and set up our microcontroller program. It took much longer for me to get the whole thing to look, well, pretty.
The brains of our meter – the Arduino Uno and our rather messy breadboard.
The user interface is extremely simple. A single button starts the “scan”.
Once the button is pressed, the LEDs on the front cycle through red and green flashing sequences. A pseudo-random number between 0 and 4 is generated. If 0 is picked, the whole system bottoms out and the meter displays the Grinch sequence. If a number greater than 0 is picked, another pseudo-random number is pulled between 90 and 180 to set the degree of cheerfulness.
I like to think that the pseudo-random number generator in the Arduino can be affected by the “vibes” of the environment. Quantum entanglement and all. 🙂
This project was extremely fun to make. Microcontrollers like the Arduino make little projects like this pretty accessible these days. So far, the response at the office has been very positive. I’ll be sure to post an update once the competition is over.
The completed door.A cheerful reading.A not-so-cheerful reading.
Over 17 years ago, a co-worker of mine at the Apple Store, Shane (later known as WQ3Y) started talking about getting an Amateur Radio License. He had long been fascinated by the idea, and suggested that perhaps a few of us could start a study / accountability group to make the process easier. It didn’t take much to sell me on the idea. As a technology nerd, I’m always on the lookout for new skills and knowledge that might eventually be useful, and understanding something about how the magic of radio worked seemed like a good idea in a world that was increasingly dominated by Wi-Fi, Bluetooth, and cellular networks.
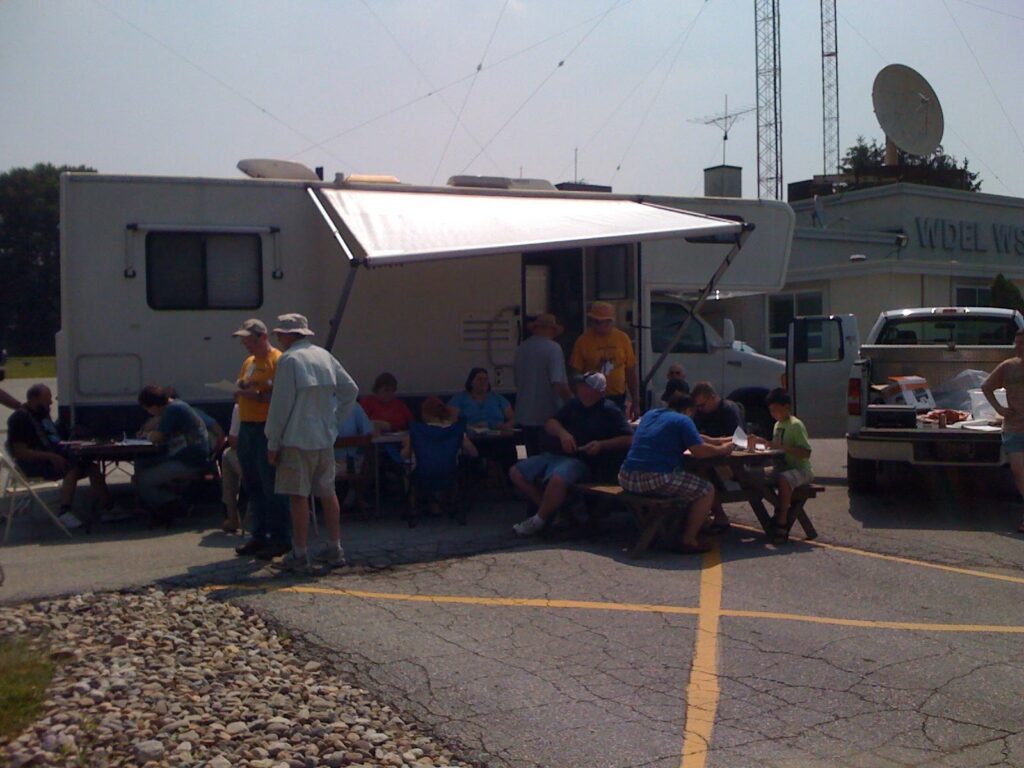
I got a couple of books – one for the entry-level “Technician” license, and one for the next in the series, “General” – and began to study the material. I’m honestly not sure how long I studied, but Shane got his license in January of 2008, and a few months later, I felt like I was ready, too. On a Saturday in late June, I drove up to the studio of WDEL / WSTW north of Wilmington, DE to take my official test at a picnic table in the parking lot along with other hopeful hams.
The few minutes that it took for my paper test to be graded by the 3 volunteer examiners felt much longer. At last, one of them approached me, and gave a late smile. “Do you want to try for General? It doesn’t cost any extra.” That was his way of saying that I had passed. I thought about it for a moment – while I had looked over the General class book, I hadn’t really *studied* it like I had the Technician level material, but I thought it was worth the shot if they were willing to test me.
The scene of my first ham radio license tests in the summer of 2008.
I took the second multiple-choice test and another anxious wait ensued. Once again, the same man walked back over to me. “Want to try for Extra?”
Now in those days, the highest-level “Extra” class license required a Morse code test. I knew there was no way that I could pass that. And I hadn’t ever considered looking at material as advanced as the Extra test was going to throw at me. I decided not to waste anyone’s time, and took my General class CSCE home.
After a few days, I got an email from the FCC that they had my paperwork and were looking for me to pay the $35 licensing fee. I promptly did, and on July 8, 2008, I was officially licensed as a General class Amateur Radio Operator with the callsign KB3RLM.
I’ll admit – I wasn’t as taken with the hobby at first as Shane was. I was more interested in the knowledge than the practical application. Shane got some radios and antennas for his house. He set up a VHF/UHF rig in his car and experimented with APRS, showing it off to me in the days before Apple’s FindMyFriends app was ever thought of. I thought that part of it was really cool, but I never did any of that. I didn’t buy any equipment at all. I learned about EchoLink – a way to participate in VHF & UHF repeaters over the Internet with a computer – and I signed up for that. I even played around with it a few times, but it always felt like I was cheating somehow. My license came up for renewal after 10 years, and I kept it current with the FCC for address changes and the like, but that was about it. Other things happened in life, and my interest waned.
Fast forward to the summer of 2025, and a short diversion.
My boys and I got a phone system set up at the house, as I mentioned in a previous post. What I didn’t mention was how I got those lovely Cisco phones in the first place. I had found a listing on Facebook Marketplace advertising FREE Cisco phones. A business up in the Philadelphia suburbs had recently removed their phone system and just wanted rid of the desk sets. I called to inquire about getting 5 of them for us to play with and the woman I spoke with sounded disappointed, “ONLY 5? I’ve got boxes of these things!” To make a long story short, I ended up coming home with close to 50 of them, and I’m happy to say that they all made their way to good, nerdy homes.
But before we could do that, we had to clean them up a bit. Isaac especially enjoyed doing this with me. One by one, we powered them up, updated their firmware, connected them to our phone system, and ran through a series of tests. As I poked around the Internet for information about the particular model we had (the venerable SPA525G2) I found out that they were popular on a service called Hamshack Hotline.
This was a really cool idea. It was a service using very similar server software to what we were, but offering it up to ham radio operators around the world for free. It was a way that you could have a secondary means of communication with your ham buddies, while also messing around with how VoIP worked. Since I had a license, I figured, why not try to fire it up on one of these phones? Literally the day after I decided to do this, Hamshack Hotline announced that they were shutting down. Running the service had become too cumbersome. Luckily, a similar (though smaller) service existed in Hams over IP. I immediately signed up for an account.
As I was digging out my license paperwork so that I could complete my application, Isaac was looking over my shoulder. “What’s this radio license thing all about?” He was instantly intrigued. We had a few conversations about it, and his interest only grew. I told him he’d have to learn enough about radio and electronics to pass a license test. It would take some work, but he was up for it. The prospect of learning some science was exciting for him, so we ordered a book and got deep into studying.
Now, there are easier ways to get on the radio if that’s what you want to do. There’s the Family Radio Service (FRS) and CB radio – neither of these requires any type of license, but they are channelized, use FM and AM, and are limited in power to 2 watts and 4 watts respectively. These restrictions really impact your communication options and range. The General Mobile Radio Service (GMRS) is very much like FRS, but with a higher 50 watt power limit. While this increases range, it’s also where the FCC starts to require a license, just without a test. Simply pay a fee and your entire family is covered for 10 years. All of these services require the use of store-bought radios that are approved by the FCC, and are generally pretty easy-to-use.
What makes amateur radio special is that our license requires us to pass a test (or several tests for the higher-level licenses). We have to demonstrate that we have at least some understanding of how all this stuff works. In exchange for that level of knowledge, we are given much more freedom. Ham radio is for tinkerers – part of our mission is to push the art and science of radio forward through experimentation. We are granted privileges on several frequency bands from shortwave all the way through high microwave without being channelized. We are allowed to operate with up to 1,500 watts of power. We can use FM, AM, SSB, Morse code, and loads of digital modes to communicate. And we can design and build our own radios and antenna systems without needing specific FCC approval. Just about the only restrictions we have are that we have to identify ourselves in our transmissions, and we can’t encrypt our communications – everything must be in the clear. And of course, we aren’t allowed to intentionally interfere with anyone else’s transmissions, and we’re expected to know enough to not accidentally interfere either.
One thing we have going for us is that there are so many helpful educational resources for prospective hams these days. Isaac and I not only dug into the book together, but we used the study materials and practice tests at HamStudy.org, and the videos on the Ham Radio Crash Course YouTube Channel. Over the course of a month, Isaac started to get more comfortable with the material, and started doing better on the online practice tests. When he was consistently passing them, I started to look for a way for him to do an official test.
Initially, I was looking for an in-person session just like how I had gotten my license. The ARRL even has a nice search function on their website that can be used to find one. Unfortunately, there weren’t all that many offered in Delaware this past summer, and the ones that were a little farther out didn’t work for our schedule. That’s when I found the WM7X Online Testing VE Team. They have available spots every day, and as long as you can get your computer on a Zoom session, you can do a proctored online test using the same ExamTools system Isaac had been practicing with. Seemed like a good option. We registered on a Thursday morning and Isaac was testing within the hour.
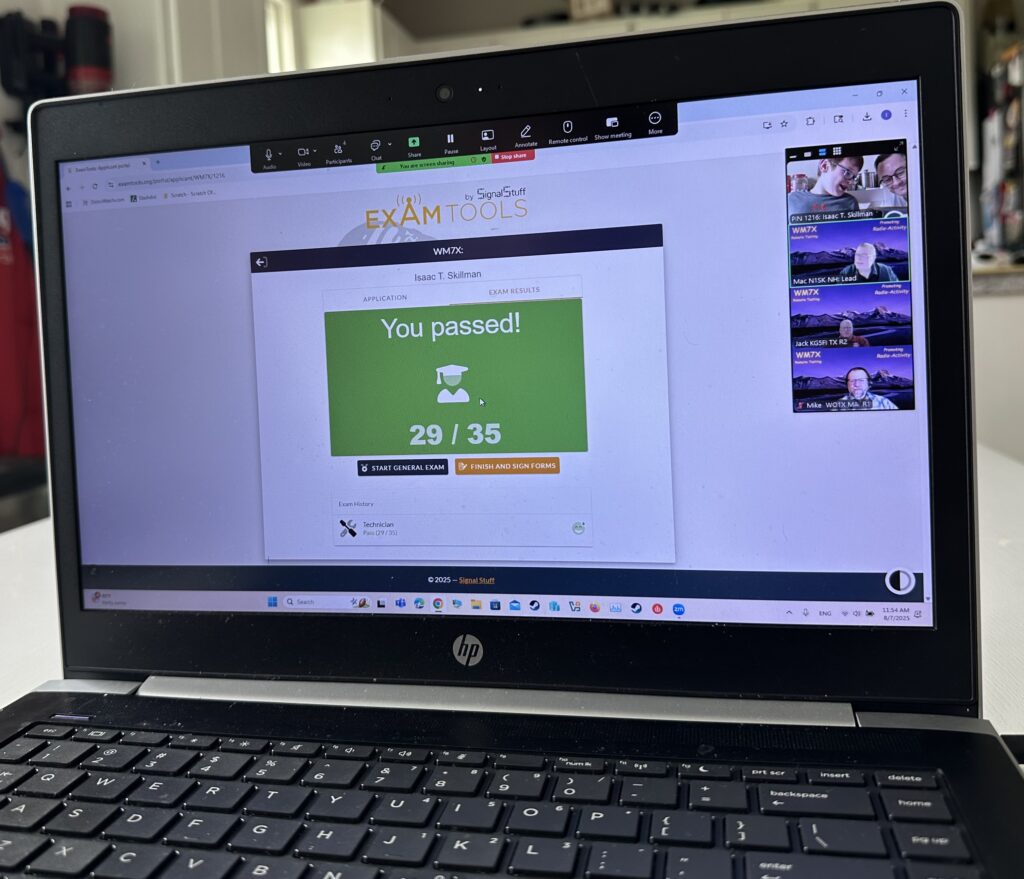
Since he is a kid, the VEs (Volunteer Examiners) allowed me to sit next to him, as long as I remained on camera and didn’t help him in any way. Isaac was definitely nervous to take the actual test, and I was nervous with him. I tried to keep track of how he was doing on the 35-question, multiple choice test in real-time, but I couldn’t tell what the result was going to be. Isaac answered all of the questions, and hit the “Submit” button at the bottom of the page. One of the VEs “graded” the test, and the result popped up on screen: he had PASSED!
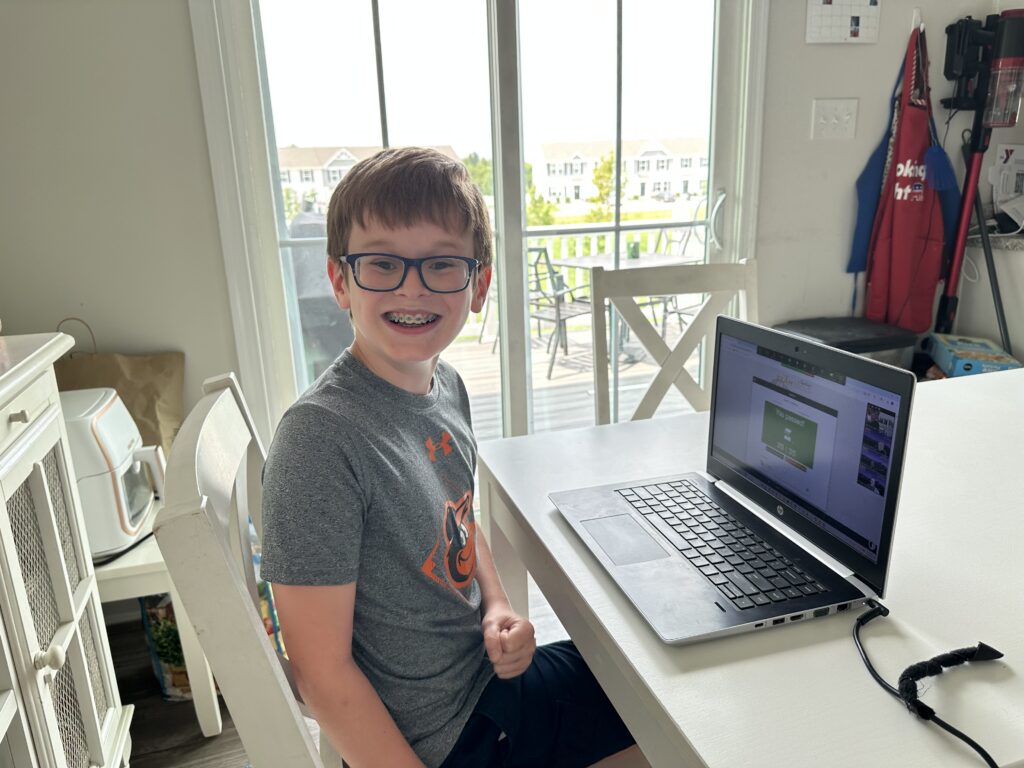
Isaac’s test score.A very happy new ham!
The next day, we got the registration fee email from the FCC, and by Saturday morning, Isaac had his license and callsign: KD3BSR. If you’d like to read about Isaac’s experience with getting his license, he wrote about it on his website.
We immediately set him up with his own EchoLink account, and he made his first contact on Sunday morning with N3RY on the W3VPR repeater – which has since become one of my favorite places to hang out.
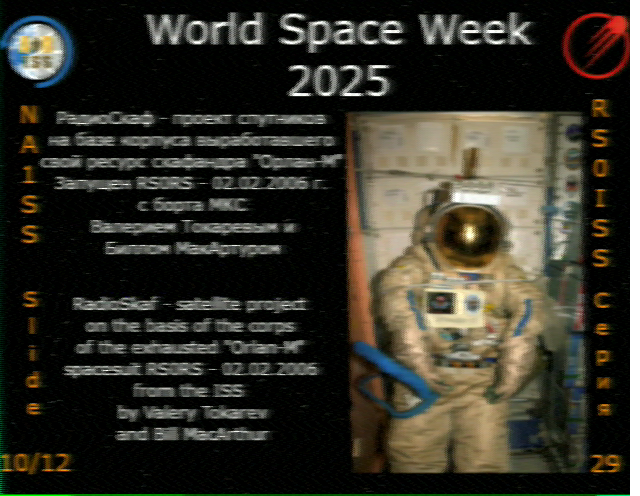
We soon got a pair of TIDRADIO TD-H3 hand-held VHF/UHF radios, and have gotten familiar with a few of our local repeaters. Isaac really lights up when he gets to be involved in the conversation with the other guys. We’ve also been having fun with amateur radio signals from the International Space Station; decoding some of the SSTV (Slow Scan TeleVision) images they were transmitting in honor of World Space Week 2025.
The cleanest SSTV image we got from space during World Space Week 2025.
Seeing the excitement Isaac has about this technology – and also the sense of accomplishment he has in having earned his way into the ham radio club – has been really invigorating for me. He’s so proud of his Technician credential, and I’m proud of him for sticking with it to reach his goal.
His experience inspired me to jump back in myself. I’m happy to say that after Isaac passed, I picked up some study materials – including the EXCELLENT course on W4EEY’s YouTube channel – and was able to pass my Extra exam with WM7X acting as my VEs as well! In the coming months, I plan to build out an HF station that will enable us to make long-distance – and even worldwide contacts.
Isaac is already working on catching up. 🙂
For now, I’ll end the post with the traditional ham farewell: “73!”
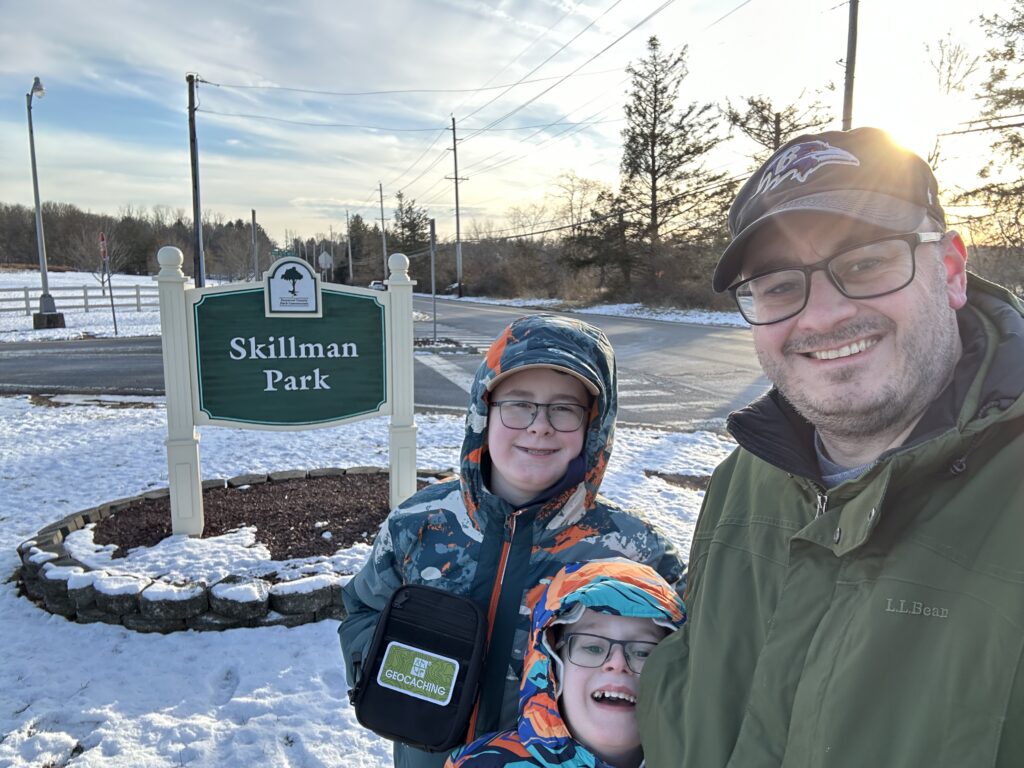
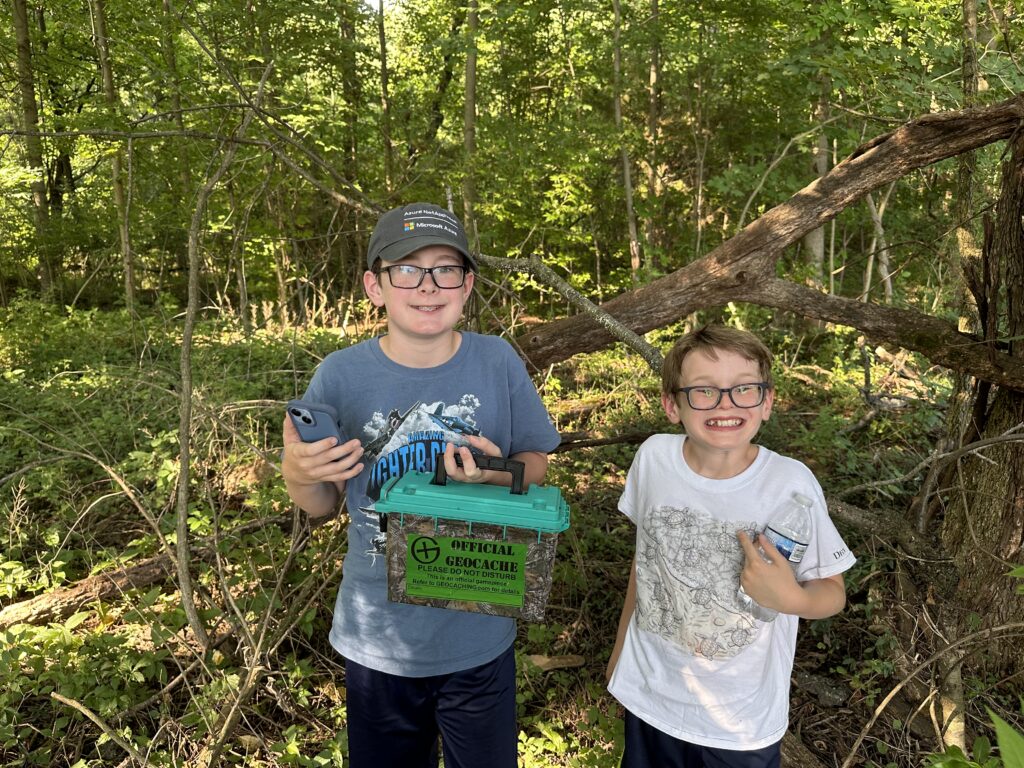
When John got his own phone last summer, I was looking through my own apps to see which ones might interest him. One of the first ones that jumped out at me was the Geocaching app. It had been years since I had gone geocaching – certainly before the boys were born – so they had never heard of it. What a joy it was to introduce them!
For the uninitiated, geocaching is something of a scavenger hunt with a nerdy component. The object is to try to find secret caches hidden out in the real world. The original idea is that these would be large enough to hold trinkets to trade with strangers, along with a paper log to sign proving that you found the cache. Increasingly, the ones we seem to find are micro-caches, only large enough for a very small rolled-up log.
Winter geocaching at…some random park?
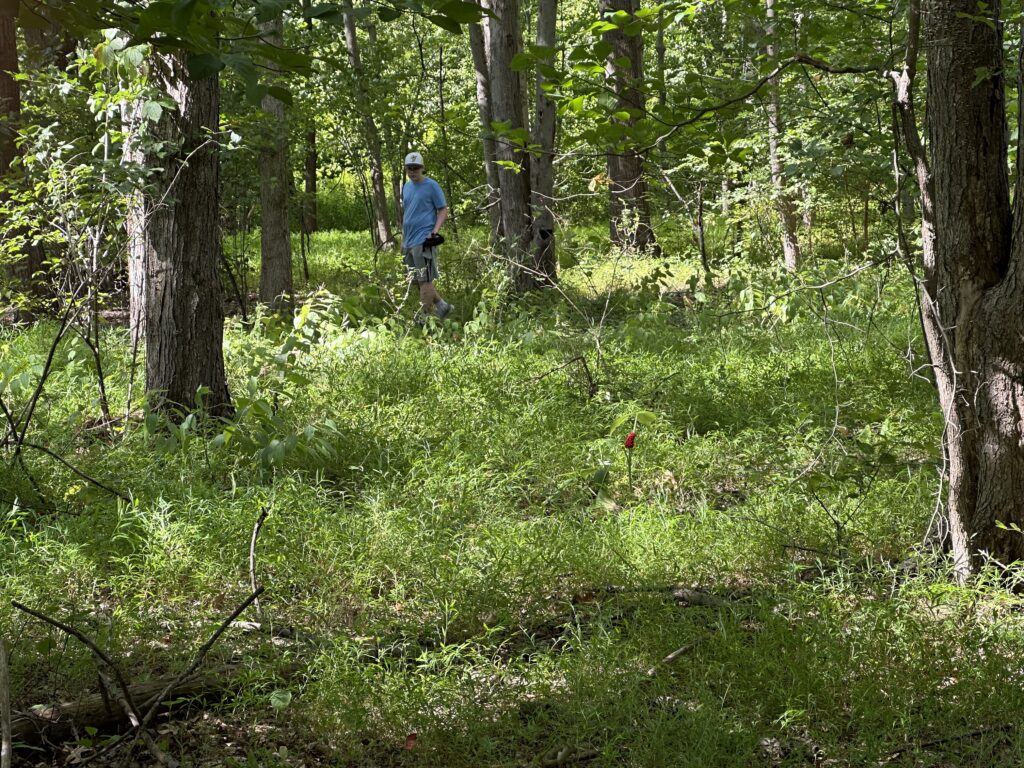
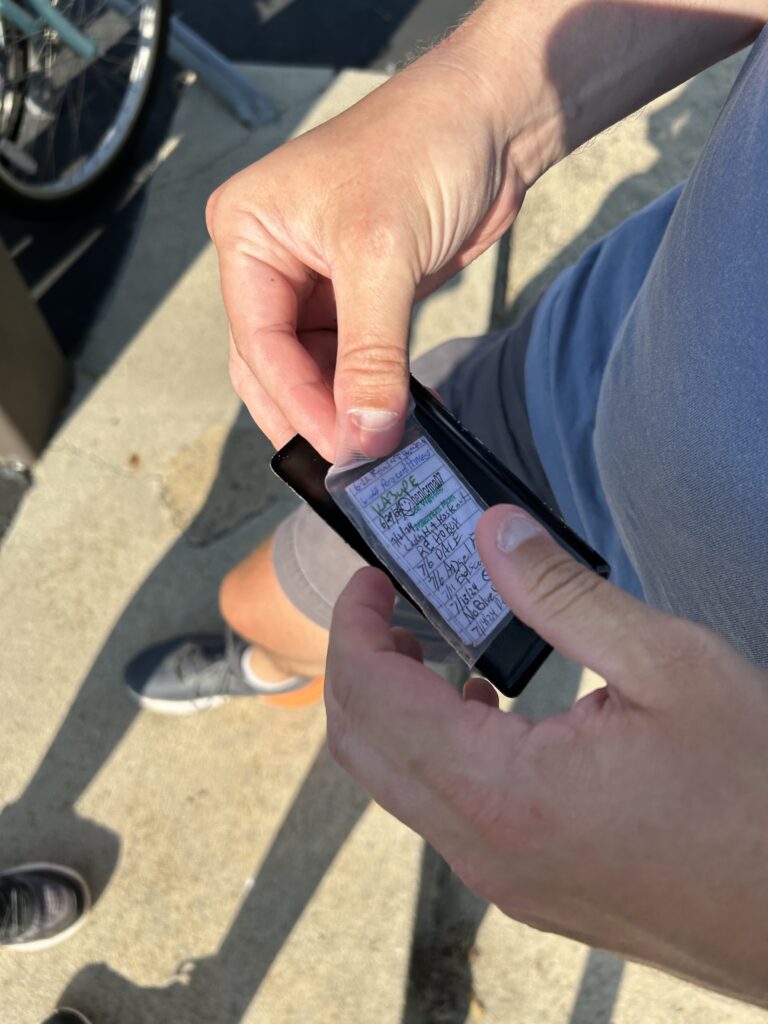
So how do you find these caches? There is a website and app where people post GPS coordinates of the caches they have hidden. Many times they also include a hint to help you find just the right spot. As people find the caches, they make note of their discovery in the online database and leave a “thank you” to the maintainer. It’s a great way to get outside while still having some nerdy fun. Back in the old days, I would have to research potential caches on the computer at home, and then note the coordinates for when I was out with my portable GPS unit. These days, an iPhone already has everything you need to go geocaching built into one device, so it’s super easy to just pick up when you find yourself with a little unexpected free time.
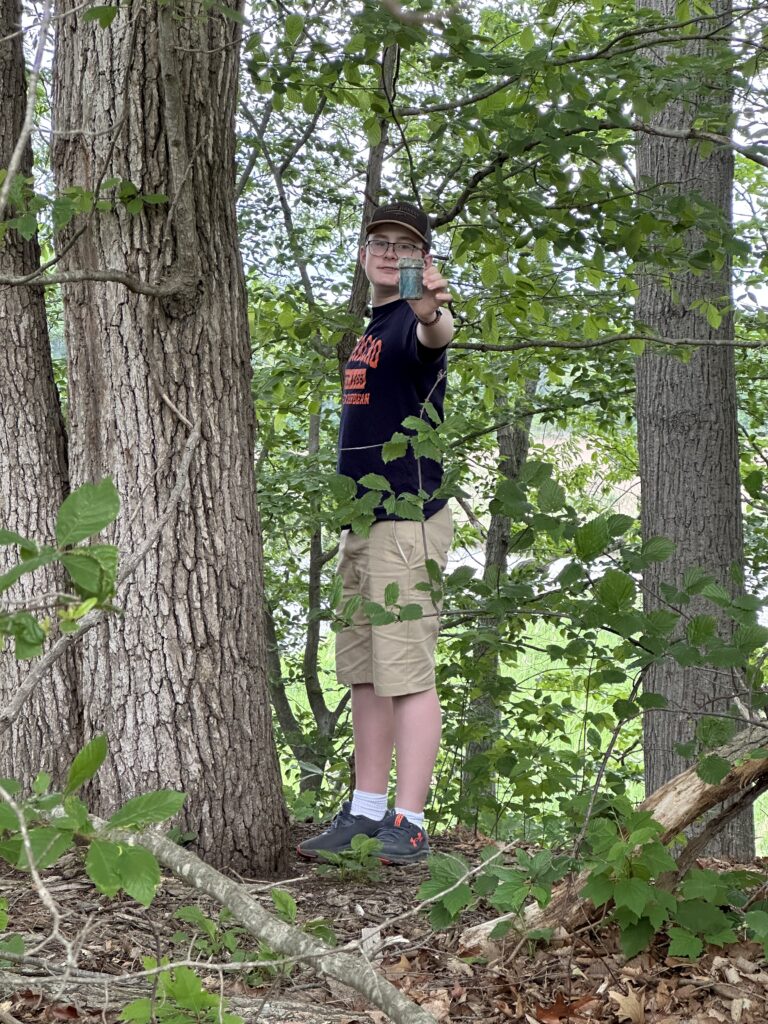
It’s got to be around here somewhere….Found it!
It’s become a favorite hobby for John, and we try to plan little excursions for it every month or so. As of today, John has 61 total finds and has even tried his hand at hiding 2 different caches himself, though with limited success. Being a maintainer can be difficult.
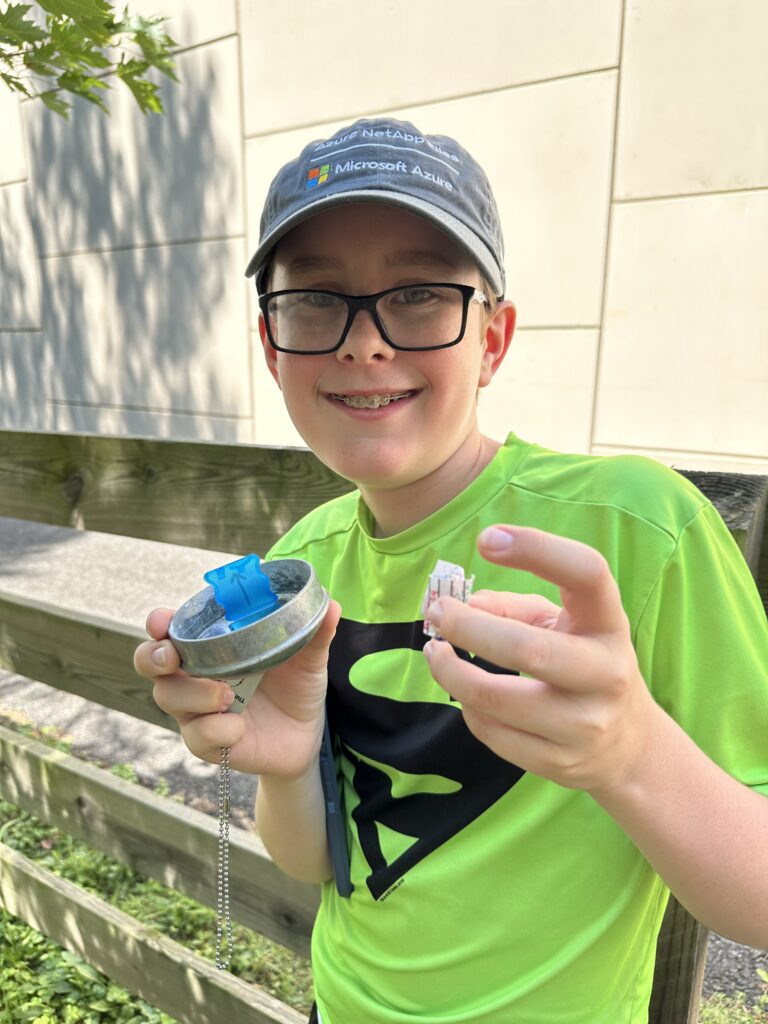
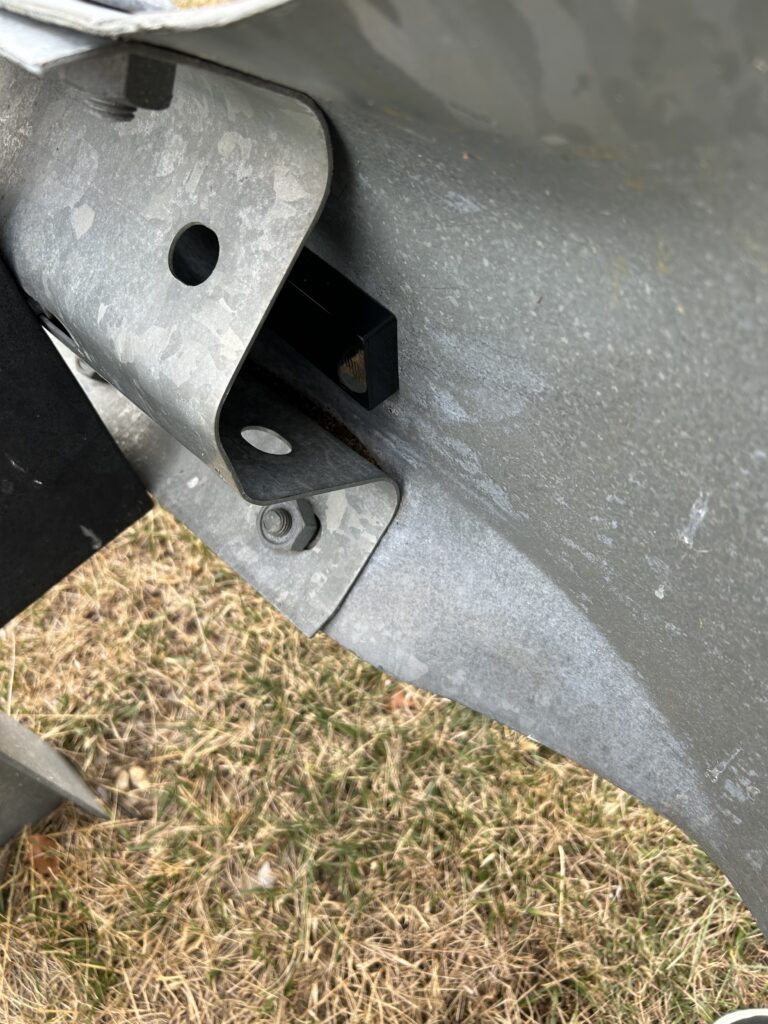
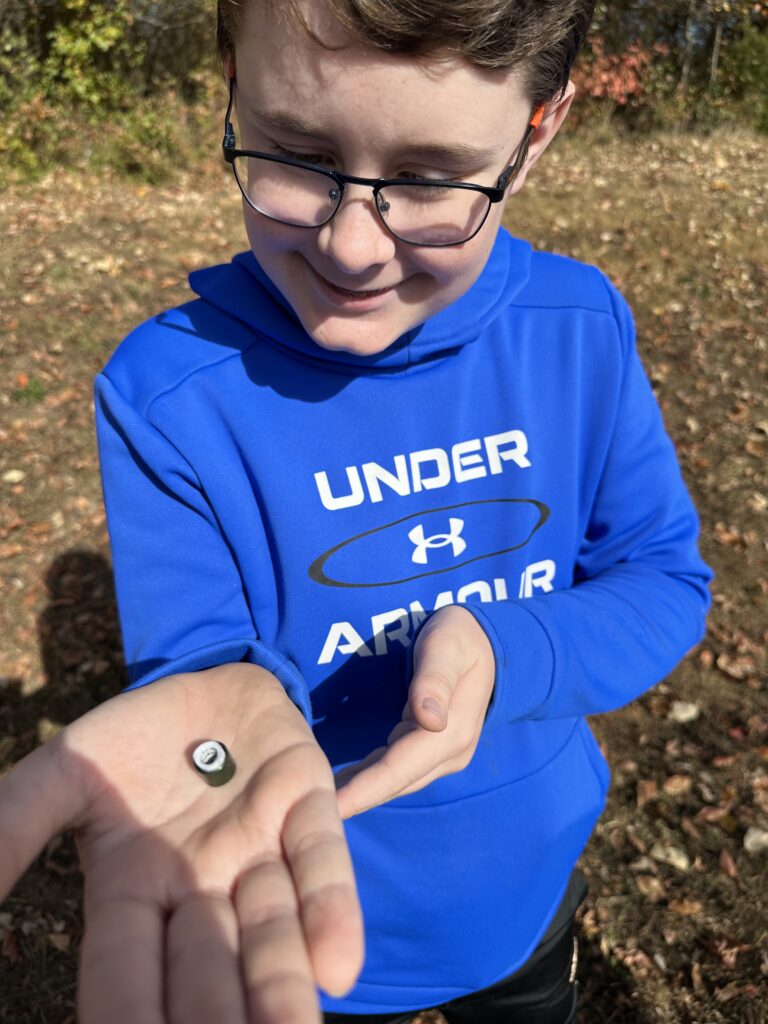
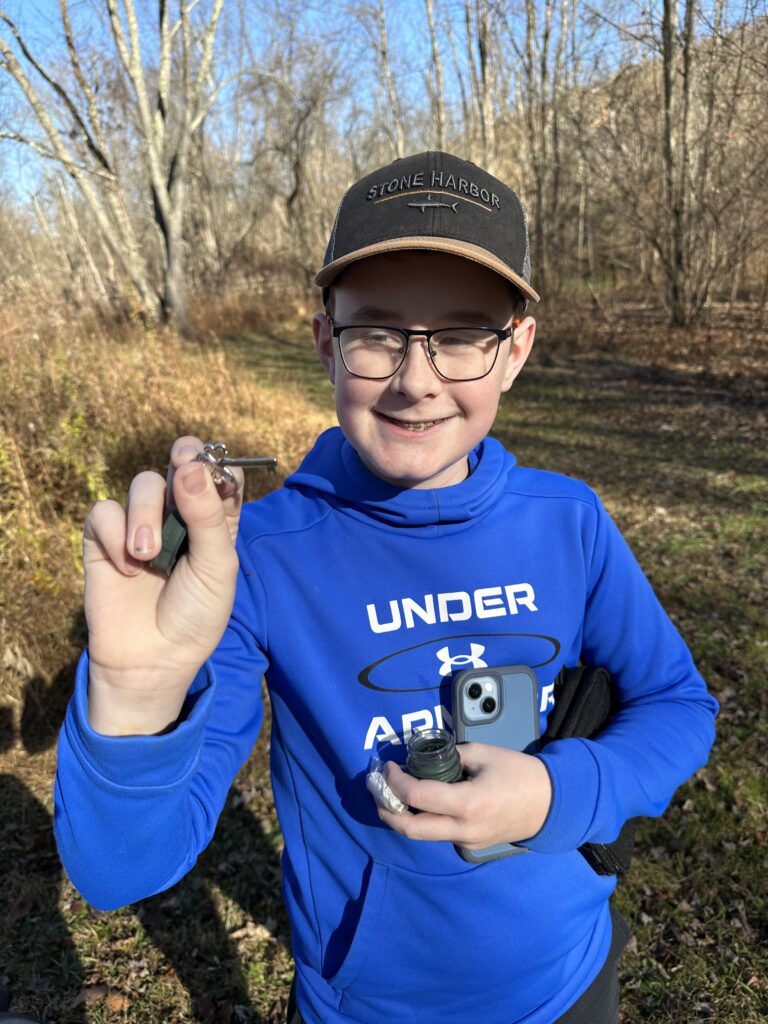
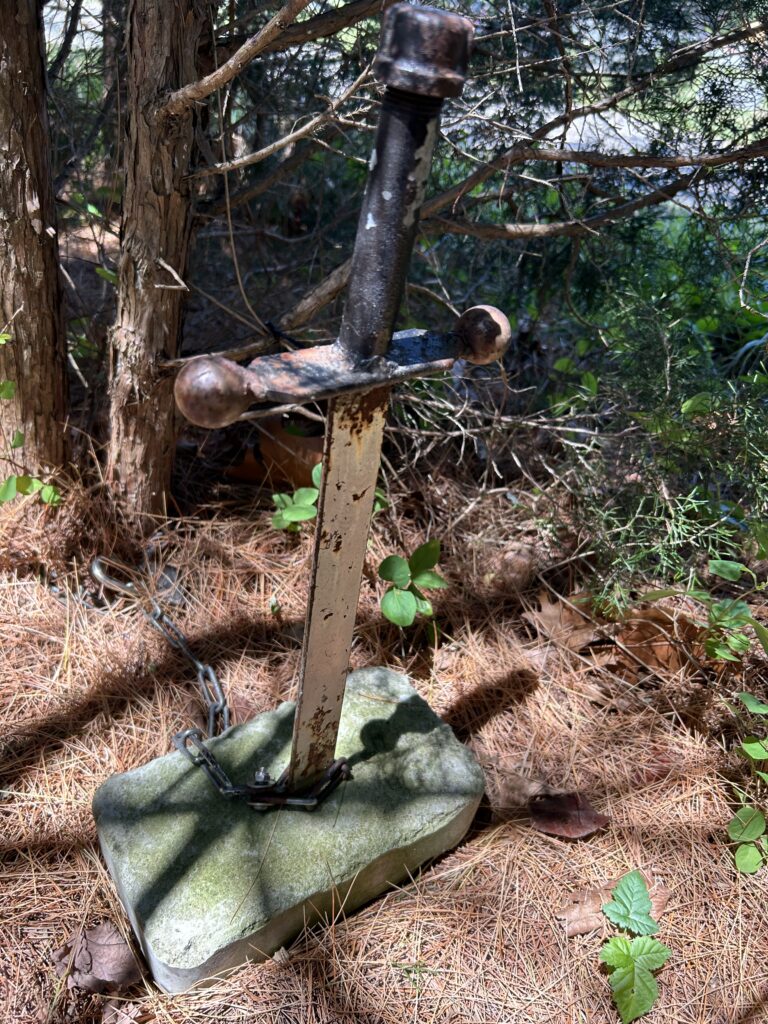
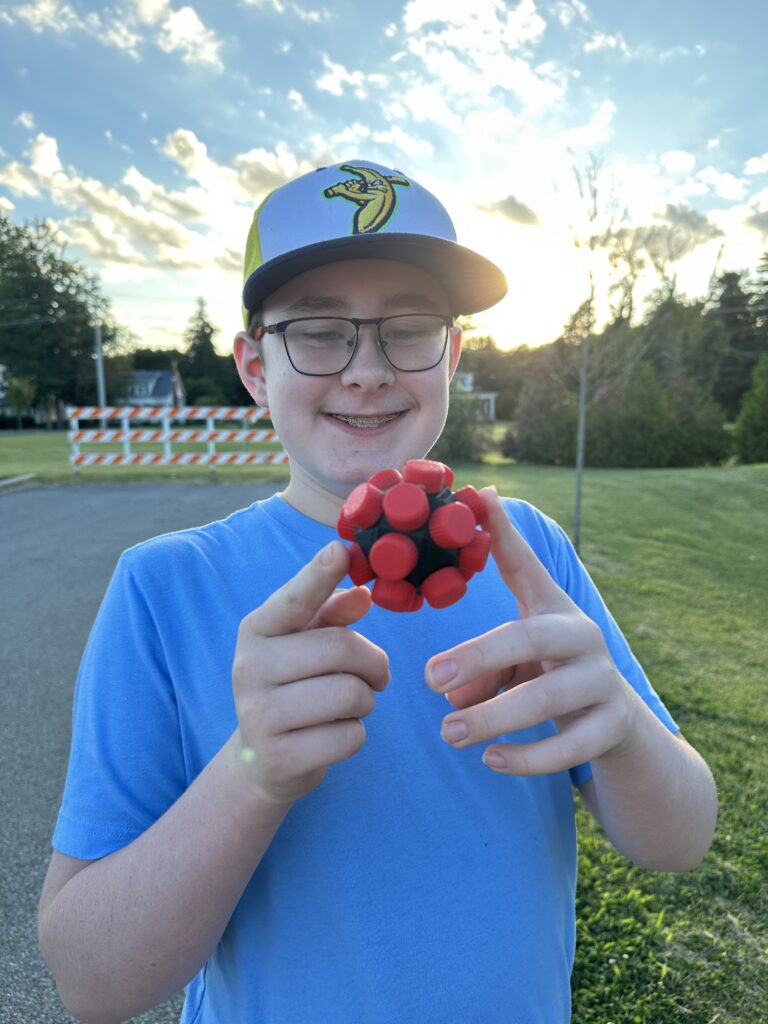
We’ve had a lot of fun getting out to search for caches. Some of the hides are quite creative and I’m always surprised at the lengths people will go to make their cache a unique experience for others to discover. Magnetized key boxes get a lot of use in the geocaching community, but there are also companies that make specialty weather-proof containers designed for geocaching.
Large waterproof boxes make for good caches.This one was made to look like an electrical outlet cover on a street lamp pole. Clever.This one took us a while to find – and no spoilers – it was hidden in the metal top of a fence post!A hidden magnetic cache along the road.A super tiny micro cache with just enough space for a tightly-wound log.A key…but to what?This is probably the most creative cache yet – a custom made “Excaliber” container.Once we solved the location puzzle, the cache itself was a puzzle. Which cap hides the log?
Since this is an outdoor activity involving finding stuff, we’ve been able to make it mesh quite nicely with my historical marker hunting. More than a few times we’ve been able to do both at the same time – now that’s a win-win!
Since we have moved to Delaware, one of the places that the boys and I love to visit over and over is the Air Mobility Command Museum at Dover Air Force Base.
For one thing, its a free museum that’s only about 30 minutes away, so it doesn’t take much justification for us. But what keeps us coming back is the staff. The docents are largely retired Air Force folks who love to share the stories of the aircraft they worked on during their military service. They are always so knowledgeable and welcoming – especially on days when they host Open Cockpit events.
Most of the museum’s extensive collection is outside. Favorites there include the VC-9C that served as Air Force 2, the massive C-5A, and the KC-10.
The VC-9C.The boys and me in front of the C-5A.The KC-10.
The first time we visited the museum, we got to go inside the C-5A. We entered on some air stairs near the rear cargo door, and I noticed a model of the Wright Flyer hanging from above near the cargo door. I asked the docent about it, and he directed my attention toward the front of the cargo compartment where an American flag was hanging near the ladder up to the cockpit. He explained that the span from that Wright Flyer model to the flag was the same distance as the Wright Brothers’ first flight. Incredible that within the span of just 65 years, aircraft technology had progressed that far. It’s still my favorite story from our visits.
Inside the museum building – which began its life as Hangar 1301 during WWII – the coolest aircraft are the C-47 Skytrain which actually dropped paratroopers during the D-Day invasion, and the B-17G. My wife Emily particularly enjoys seeing that one as her “pop-pop” served as a radio operator on a Flying Fortress during WWII.
The C-47.The B-17G
As I alluded to, we have been to the museum several times. Some days, it’s “just because,” but we have also made the trip for special events like their Open Cockpit days.
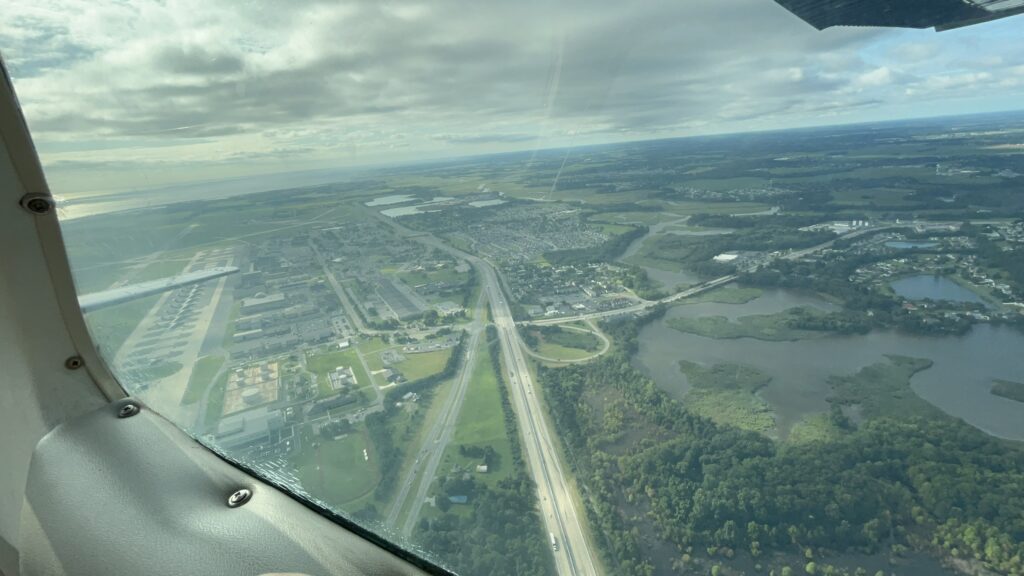
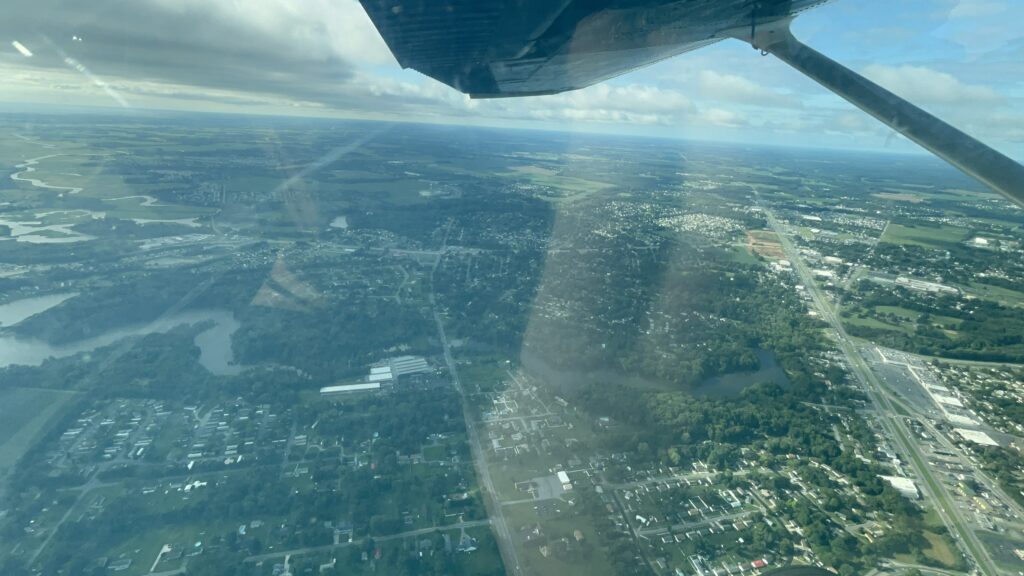
During the summer of 2024, the boys were even able to go to their really cool week-long, half-day summer camp program. They spent a week learning about aircraft, spacecraft, land navigation, and other STEM topics. The highlight of the camp was most definitely a 30-minute ride in a Cessna courtesy of the Dover Aero Club. John took his phone along and got some photos of the ride.
A cut-away Cessna showing the parts of an aircraft.Crossing DE-1 in a Cessna.The view from ~2,000 feet.Isaac enjoys the ride.Two happy guys in a Cessna!The boys ended the week with a special Chick-fil-A lunch!
It’s been almost a year and a half since I last posted here. It’s just so easy to use Facebook for “life updates” these days, and that’s where most of my friends and family go to look for that sort of thing. With the hustle and bustle of life, it’s easy to neglect your blog. That said, here’s my attempt at a general life update.
History
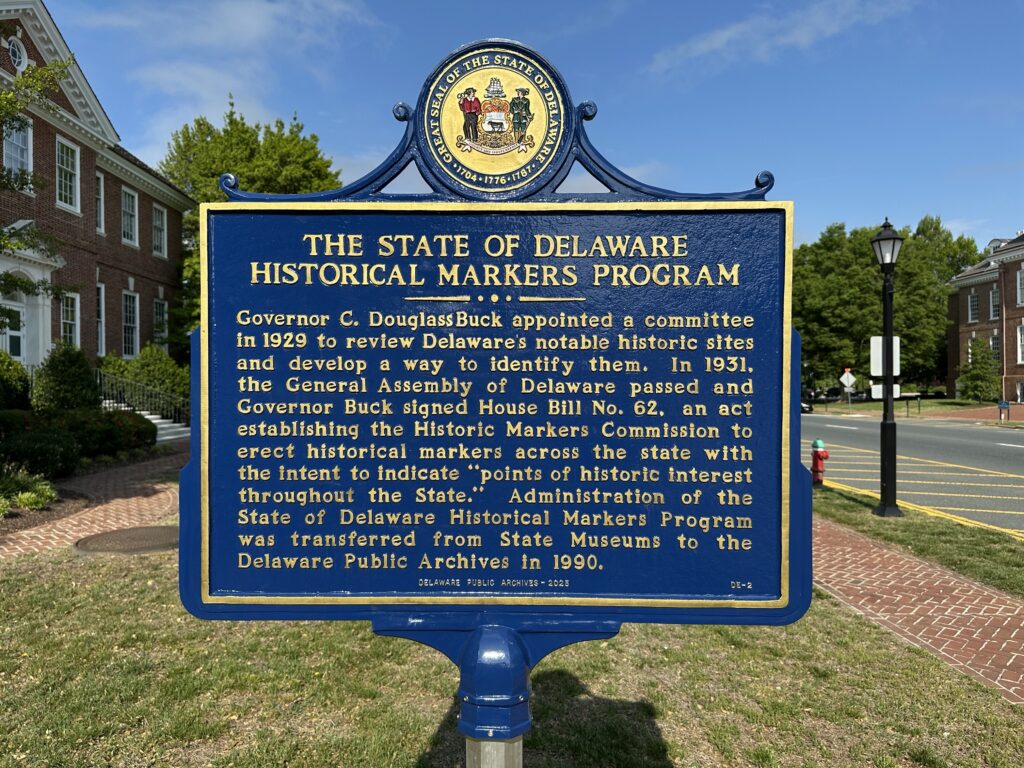
I’m still fairly involved with the HMdb. While I’m out and about, I’m always on the look-out for new markers. I’ve really been working to improve our collection of roadside markers from the Delaware Public Archives (whose own online listings of markers are incomplete and rather disjointed). This is a never-ending task as new markers are added, but I’m confident that our listing of these is complete for now.
The database continues to be the first place that I go to research the history of an area – seeing pins on a map just works for my brain with trip planning.
Perhaps the most “meta” historical marker ever created. I got to add this one to the HMdb.
As of today, my contributions are good enough to rank me as 70th all time out of 7,683 individual contributors to the database. I have submitted a total of 583 markers, 1,489 photos, and 412 links to other websites. I’m very proud to be part of the team.
Technology
Sadly, not much has changed in my home lab since the last update. There are of course new versions of software, and a few new applications I’ve been playing with, but the large hardware changes I’ve been wanting to do are still on the back burner for now. I’m hoping that I can return to those in the new year.
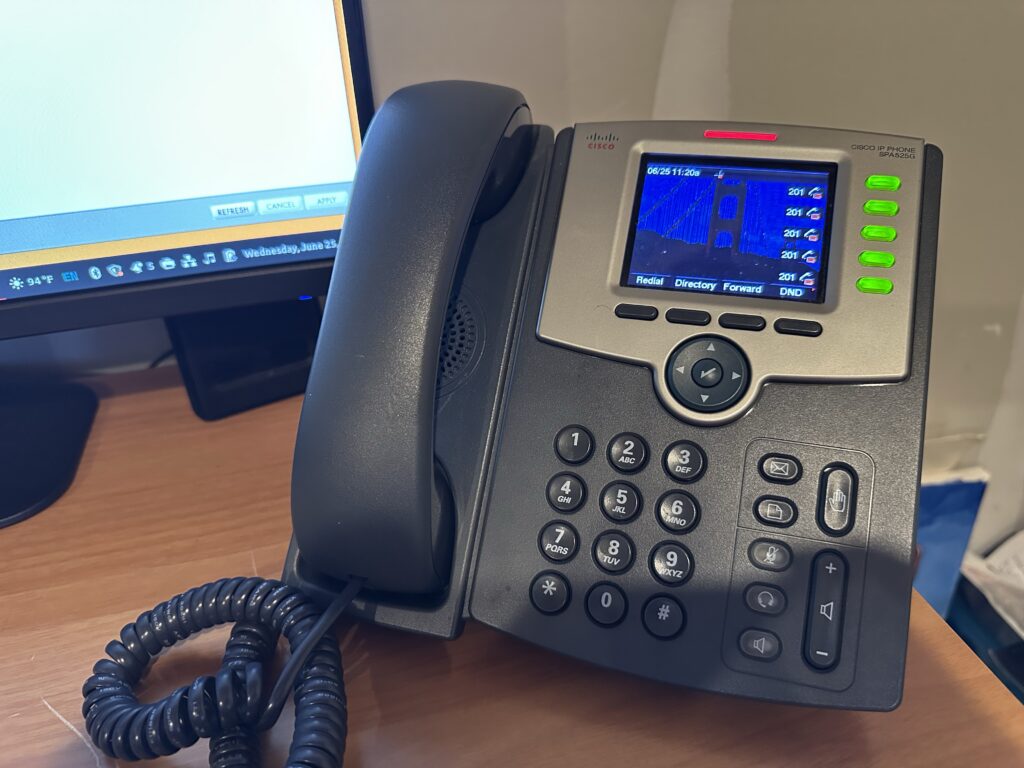
Our most significant addition has been a new in-home phone system using FreePBX and several Cisco SPA525G2 desk phones. The boys have really enjoyed being able to help build this and play with it. Once I get some better back-end hardware, I’m planning to hook our system up to the outside world through a SIP trunk with an actual phone number. Stay tuned for more posts about this topic.
We got a phone system working thanks to these awesome Cisco phones!
Speaking of things that deserve their own posts, I’ve re-entered the world of ham radio. That story will be fleshed-out soon.
Other News
Since he got his own phone last summer, John has picked up an interest in Geocaching. We try to plan an outing for that every month or so, and it’s a good excuse to get outside and move a little while still doing something nerdy. Sometimes, I’m able to get some historical markers at the same time so, win-win!
Also late last year, both of my boys worked through classes at our church and became full communing (and voting) members. It’s fun to watch them grow up and begin to enter adulthood in small ways like that. As rough as these middle school years can be (yes they are BOTH in middle school now) this is also the time when they are truly becoming themselves.
Thanks to some free tickets he got as part of a school reading program, Isaac took me to a Delmarva Shorebirds game this past spring. The boys and I have now been to games at all the Orioles minor league affiliates’ stadiums.
Also coming in a future post: I got a passport for the first time last year! There must have been a specific reason for that….
People who have followed this site for some time know that I am very interested in history. I love taking road trips to experience it, and I especially love getting to share history with others – both in-person, and through the medium of the Internet.
To that end, I’ve been a great admirer of the Historical Marker Database since its inception. Their mission of cataloging all the outdoor history markers that we come across in our daily lives always struck me as being very worthwhile. I’ve used it as a reference when planning my own trips (or when I was in a hurry and was really curious what was on that sign I passed earlier in the day). For almost a decade, I have been a “Contributing Correspondent” to the database, submitting markers that I had found that were not yet included. Recently, I’d become a lot more active, submitting well over 100 markers so far in 2024.
Because of that increased activity, a couple of days ago, I got an unexpected email from the publisher of the website:
Nomination to Contributing Editor
Pete,
I am pleased to announce that the Board of Editors here at the Historical Marker Database have nominated you to become a Contributing Editor. Your entries are complete, well-illustrated, well-edited entries that are always ready-to-publish….
J.J. Prats
Almost immediately, I very happily accepted the nomination.
I can’t really put into words how much it means to me to be trusted to be so involved with a project that has meant so much to me, and that I think is important as a resource on the Internet. Obviously, it is a big responsibility, and I hope that I am equal to it. And it is an absolute thrill to see my name on the About Us page. I’m not sure if I’ll get over that for some time.
I may start posting more content here that is explicitly related to historical markers, or my journey in discovering them. I’m sure that it is work that we will never be finished with.
A couple of weeks ago, the boys and I went up to Brandywine Battlefield State Park because they were opening their season with a celebration of the 343rd birthday of Pennsylvania. There were going to be living history demonstrations, and free admission – can’t beat that!
We’ve been to Brandywine a few times before, but we’ve only just visited the park – which does hold the house that George Washington used as his headquarters during the battle – but I’ve never actually been out on the field where the fighting of the Battle of Brandywine actually happened. These days, most of it is either neighborhoods, or still privately-held farm land. That seems to be slowly changing with organizations like the American Battlefield Trust picking up more property there and setting up some interpretation.
It took us about an hour to drive up, and along the way I had John read a battle overview out loud from one of my books. We discussed what was going on with the war at the time, and I let the boys look at a few maps, too. I think it really helped with getting them engaged in what we were about to see.
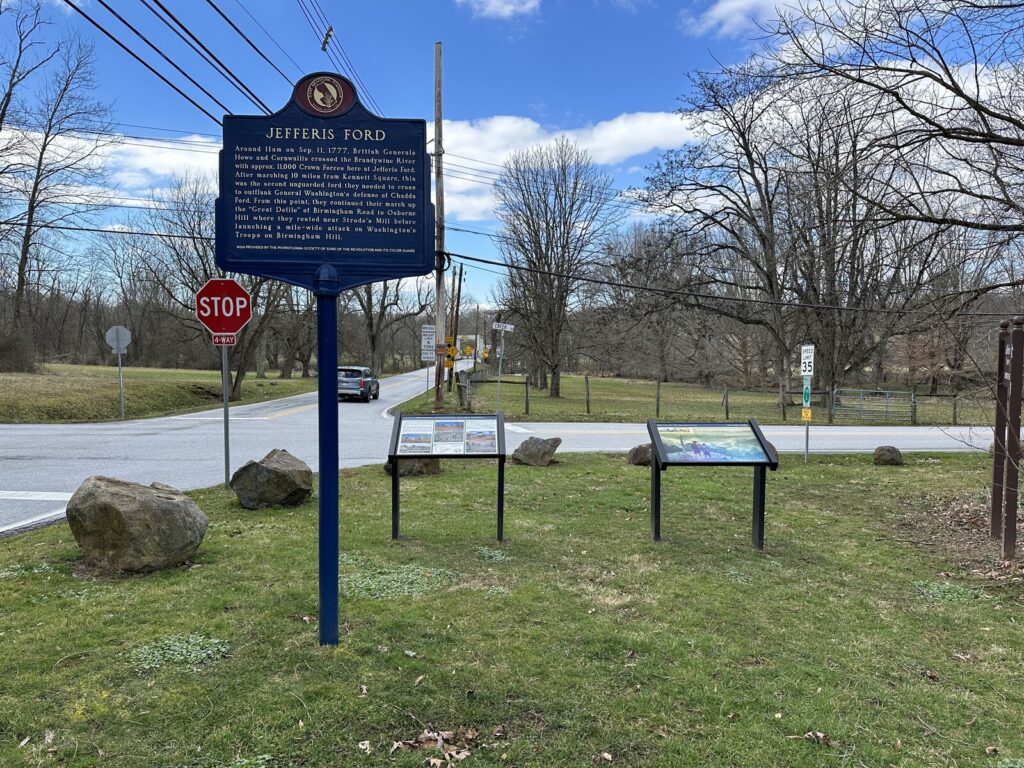
We started our tour at Jefferis’ Ford where Gen. Sir William Howe’s British troops crossed the Brandywine and started the move to turn the American right flank. I had to explain to the boys what a ford was – maybe we need to play more Oregon Trail. Seeing the boys get a little spark as I explained that the British marched right along this road we were standing next to – that’s the reason I love doing things like this with them. There are a few cool markers down there – including two relatively new ones that I was able to add to the HMDB!
The view of Jefferis’ Ford. – Photo by the author
Continuing on, we followed the route of the British and made our way to Osborne’s Hill where we got out to see the view and imagine the battle lines forming for the assault. Luckily for the Americans, Howe gave his men some time to rest after their all-day march, so there was some time for a defense to be put up. It wouldn’t be enough, though.
The Lafayette Memorial near Sandy Hollow. – Photo by the author
My most exciting monument addition of the day came next: The Lafayette Memorial near the site of his wounding. This has been here since 1895 – how had it not been added to the database yet? Lafayette came back to visit the site after the battle and spoke fondly of his experiences there, despite the wound.
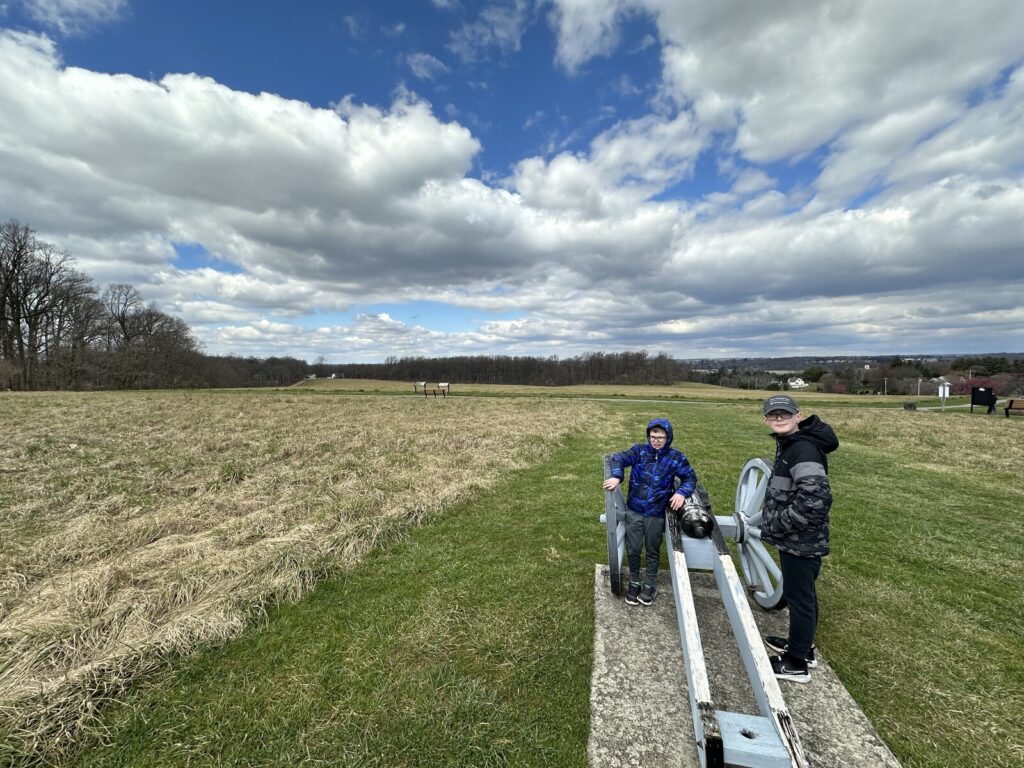
Around the corner from there, we came to the Sandy Hollow Heritage Park. This park preserves the American right flank, and I have to say – the position seems remarkably defensible. I’m going to have to do some deeper reading on the Battle of Brandywine, because I have no idea how this position could have fallen – especially with some artillery support.
My crew mans a very fake wooden 3-pounder at Sandy Hollow. – Photo by the author
It was a quick drive over to the crossroads of Dillworthtown and past the site of the British camp after the battle. Maj. Gen. Nathaniel Greene’s last line of defense was also in this area, allowing the American army to escape mostly intact. This was the second-largest battle of the Revolution and I don’t think it gets the attention it deserves – probably because the preservation of the field is so spotty. Maybe that will get better.
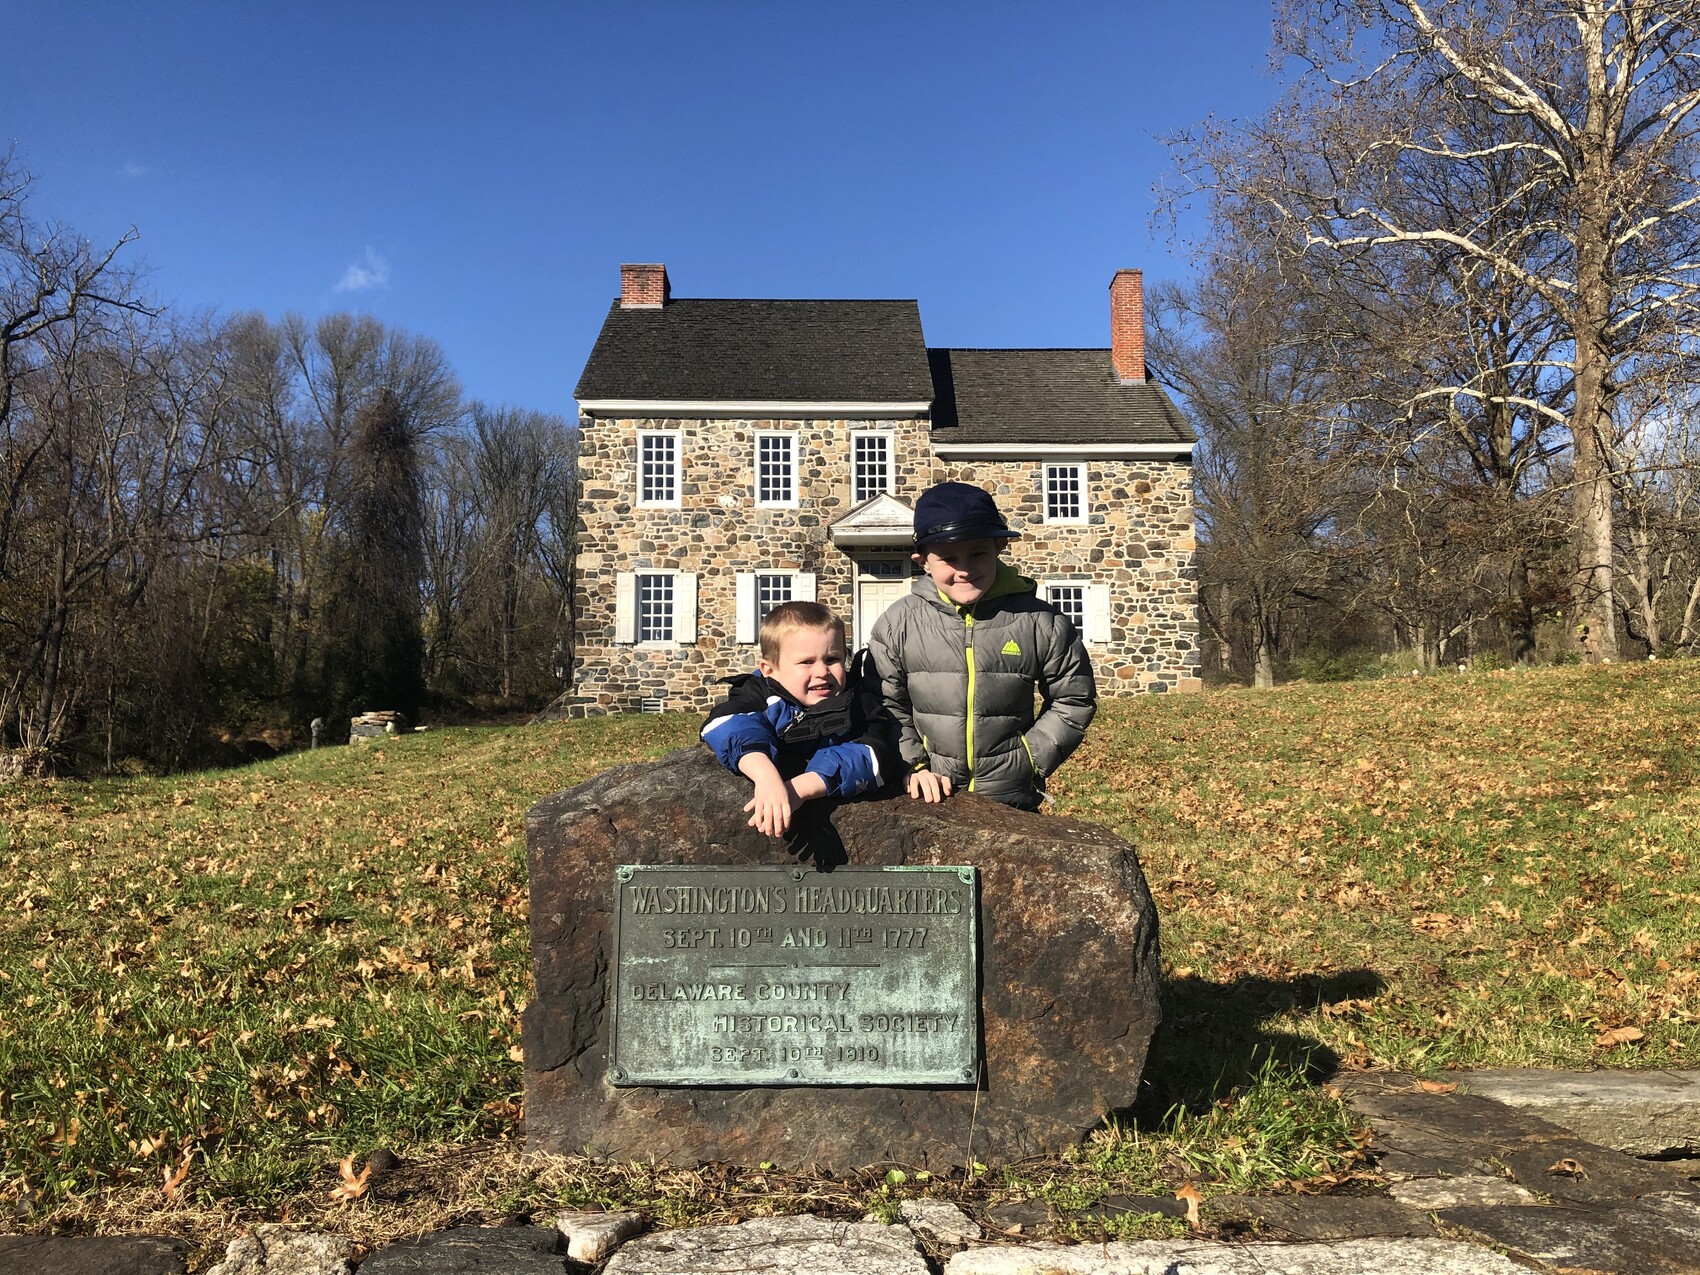
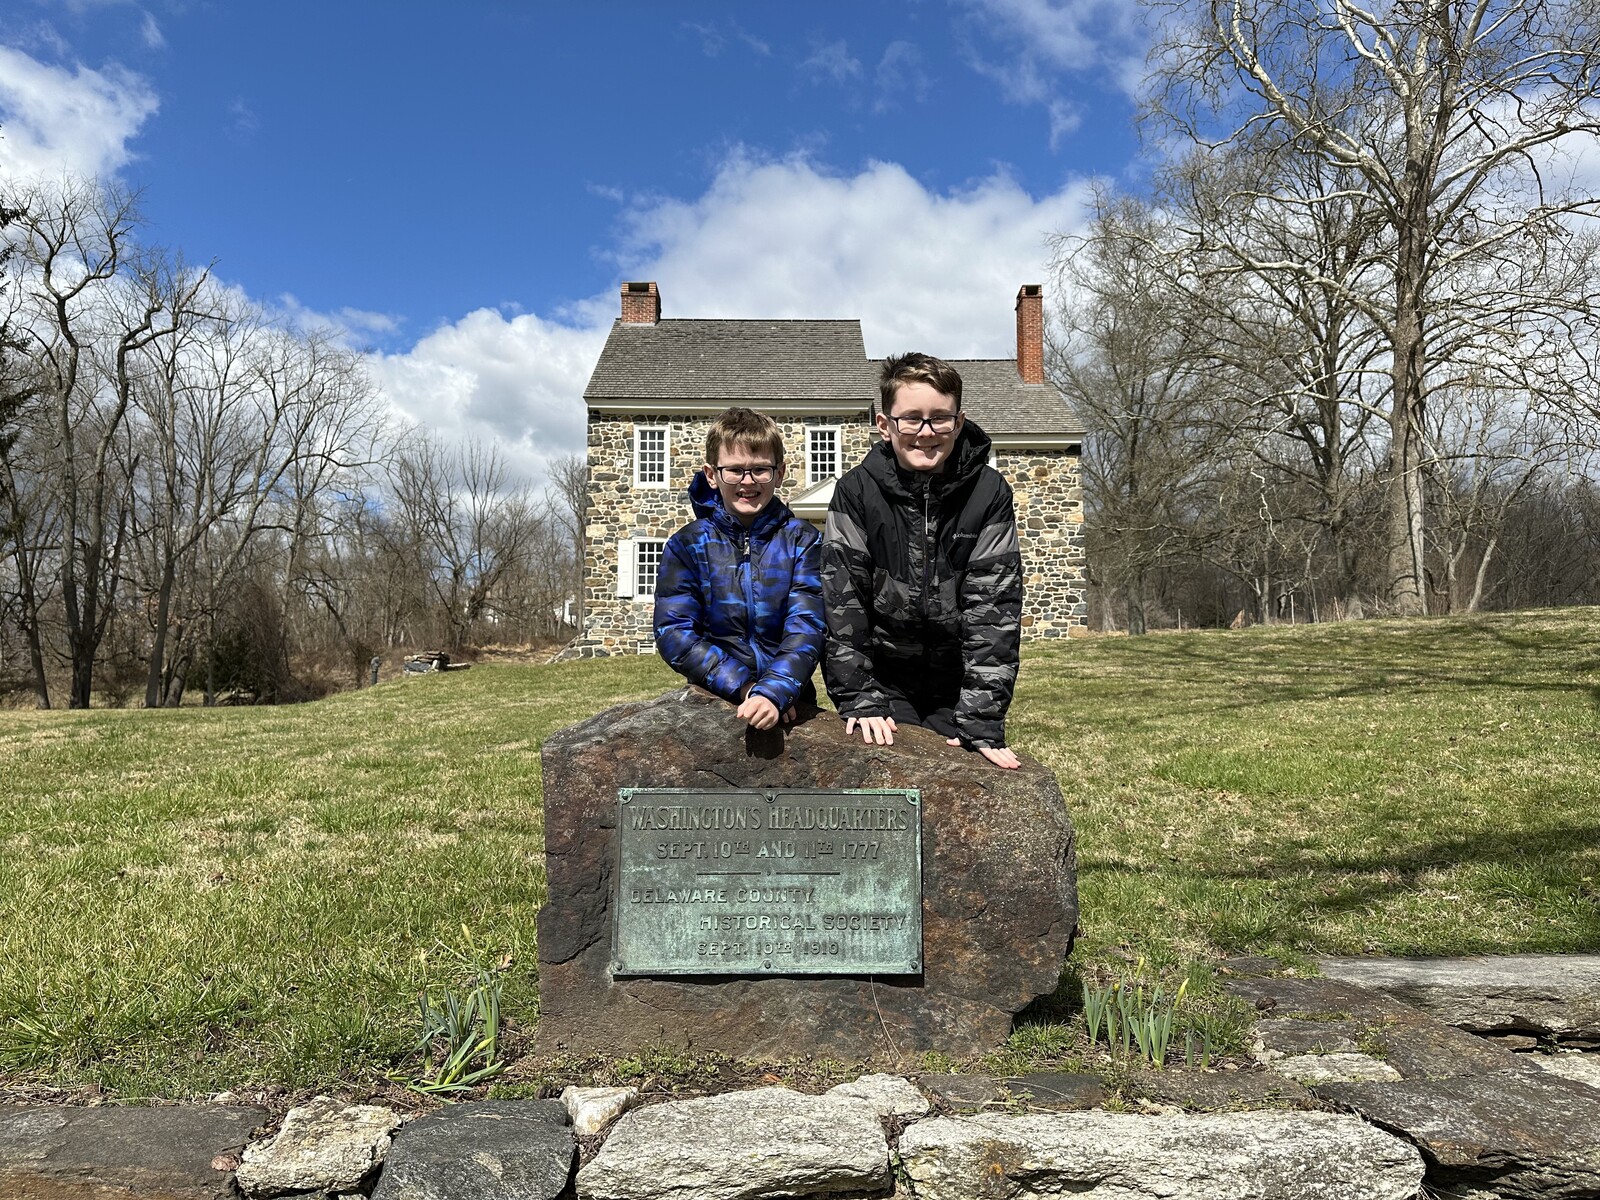
Our first visit in November of 2018. – Photo by the authorAnd nearly 5 and a half years later. – Photo by the author
After our tour of the field, we stopped at the park visitors center and checked out the museum and their cool 20-minute film. Isaac in particular told me that the movie helped him understand things a bit better. We got a quick photo at the Benjamin Ring House to re-create one we had taken a few years ago (and we added another surprising historical marker in the process).
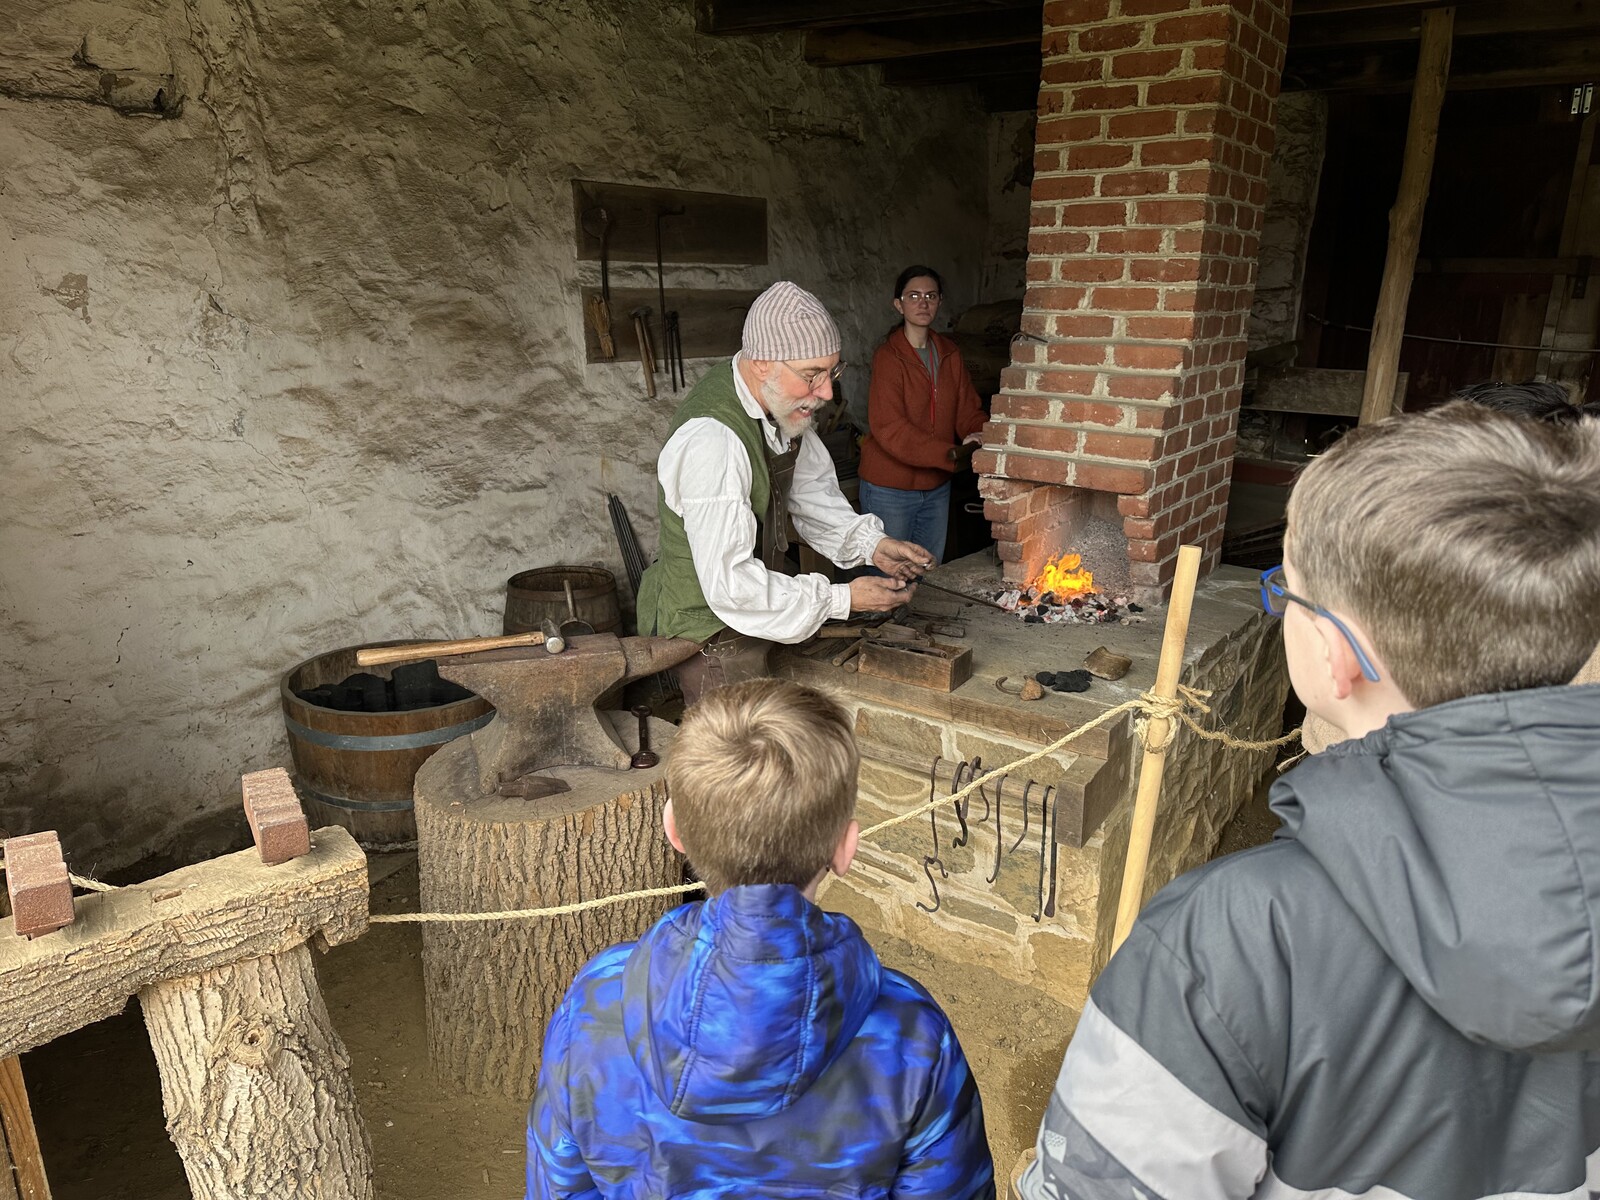
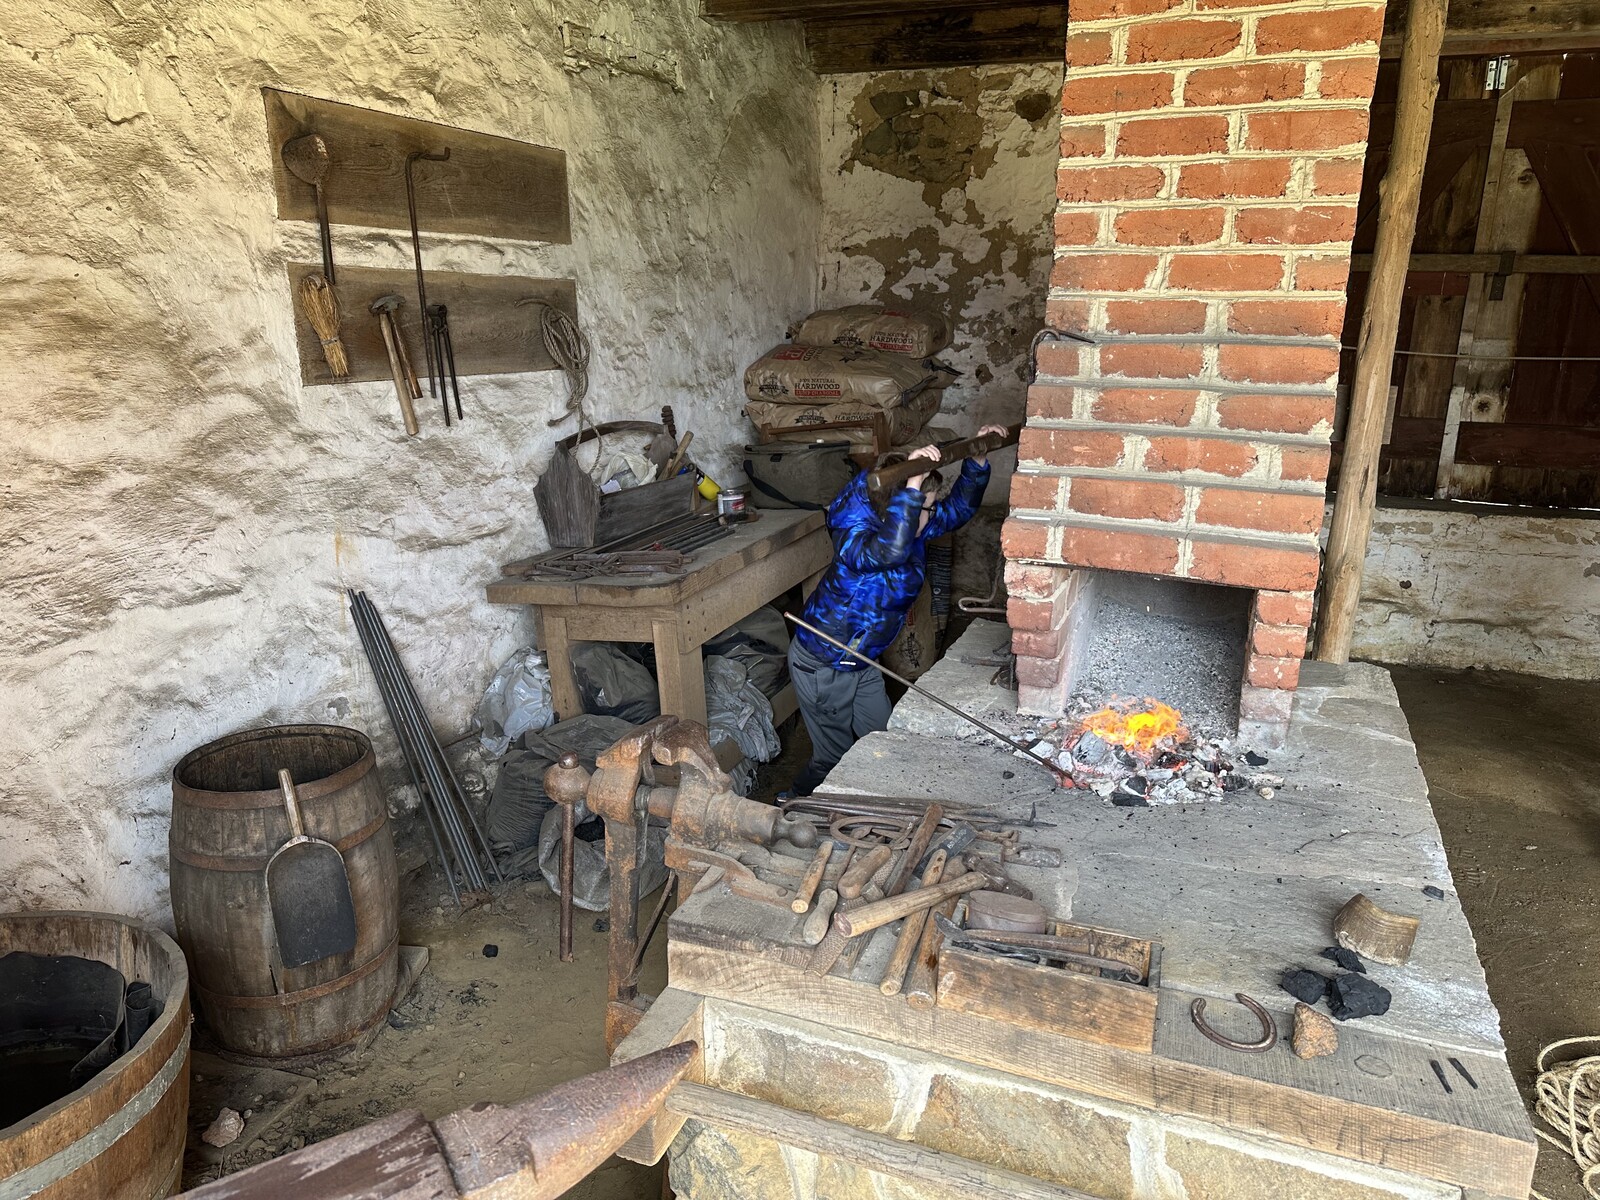
Watching the blacksmith demo. – Photo by the authorFollowed by helping with the blacksmith demo! Isaac works the bellows. – Photo by the author
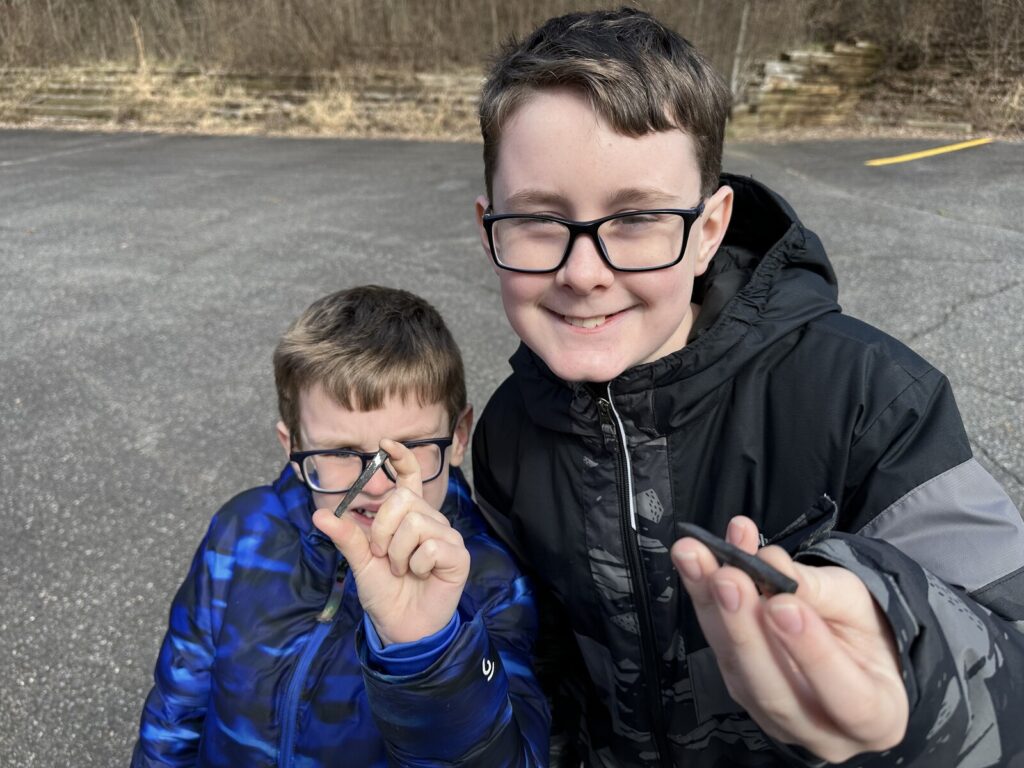
Then, it was living history time! Over at the Gilpin House, there were interpreters discussing surveying, cooking, and weapons, but we gravitated to the blacksmith demo. The boys even got to participate by working the bellows and stoking the fire up to around 2000 degrees so the blacksmith could show how nails were made in the 18th century. For their efforts, the boys got to keep two of the nails they helped make. They were both really proud of them.
The boys with the nails that they helped make. Very cool! – Photo by the author
It was a really great outing. With just a couple of hours, we got to see, experience, and learn so much. I’m glad that we went, and that we went a little off the beaten path as well. I’m hopeful that the boys will treasure these memories as much as I do.
One of the things we’ve done with the boys the last few years is give “experiences” rather than “big gifts” for various holidays. This year, we decided to go in with their grandparents on an overnight trip to Philadelphia. Neither the boys, nor Emily, nor “Nene” and “Baba” had ever seen the sights of Independence National Historical Park, so this would be a good opportunity for that.
We went up on Saturday morning, and started with the new visitors center. This is jointly-run by the NPS and the city. We had lunch at the little cafe there (which was honestly, pretty disappointing) and then checked out the small museum exhibits, the orientation film, and got maps and Junior Ranger activity sheets.
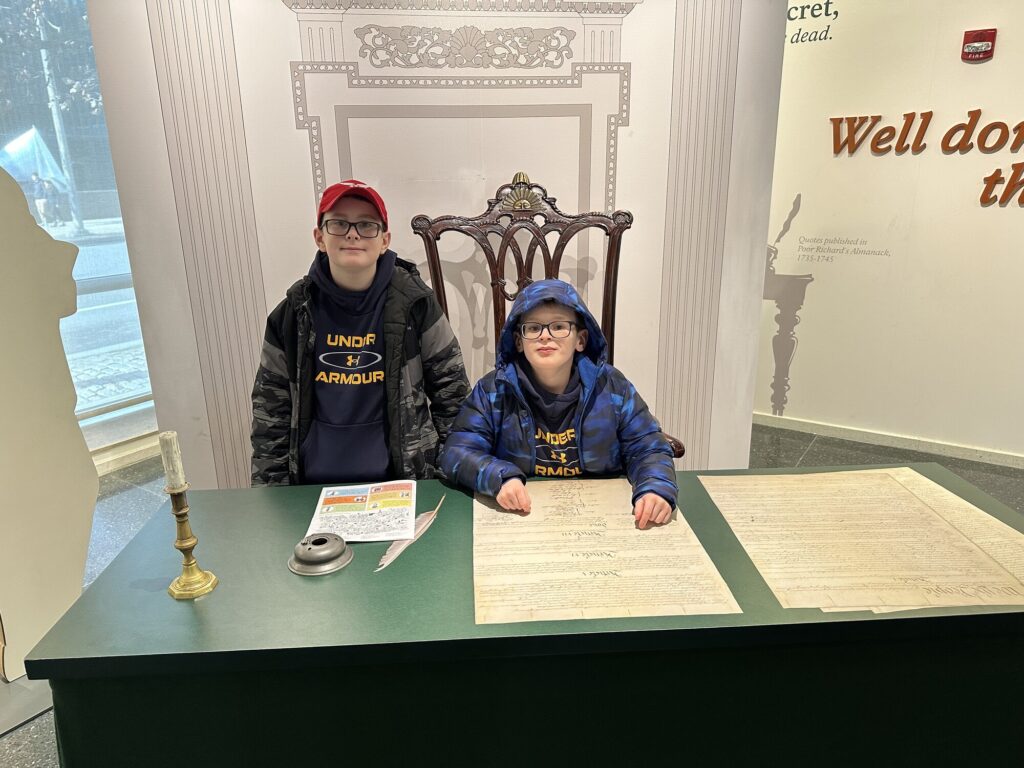
John stands by as Isaac presides over the signing of the Constitution. – Photo by the author
They do Junior Rangers a little differently here. Instead of an activity book, they give out kind of a cartoon map of the park that has suggestions for activities and questions to ponder on it. I think the idea is that it gets the whole family involved. Once you’ve done your tour, I think you just need to convince a ranger that you’ve seen and learned a few new things and you’re all set.
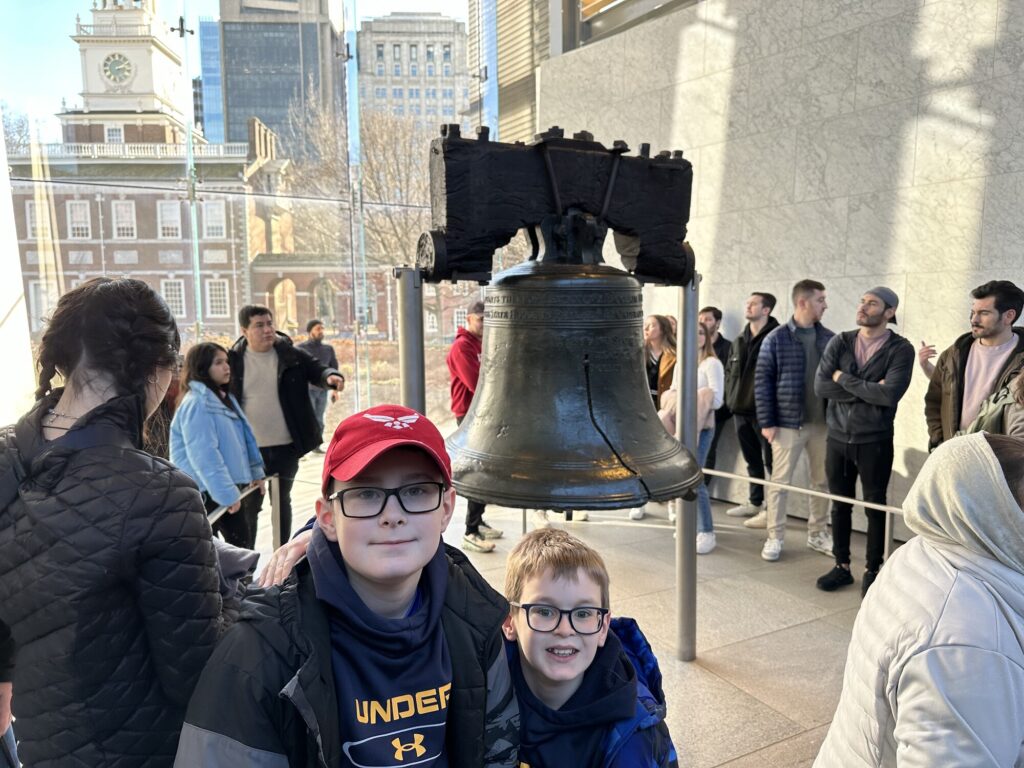
With the introductory things out of the way, we walked across the street to the site of the old President’s House. The structure has been gone for a long time, but it has been partially re-created, and there are some cut-outs in the ground to show the archaeological work that was done at the site. It’s a pretty interesting presentation. From there, we got in line to go through security for the Liberty Bell.
The boys pose in front of the Liberty Bell. – Photo by the author
The boys were excited for this, as it is a symbol of modern Philadelphia – it even plays a role at the baseball games – but I think it didn’t have quite as much historical significance at the time of the founding.
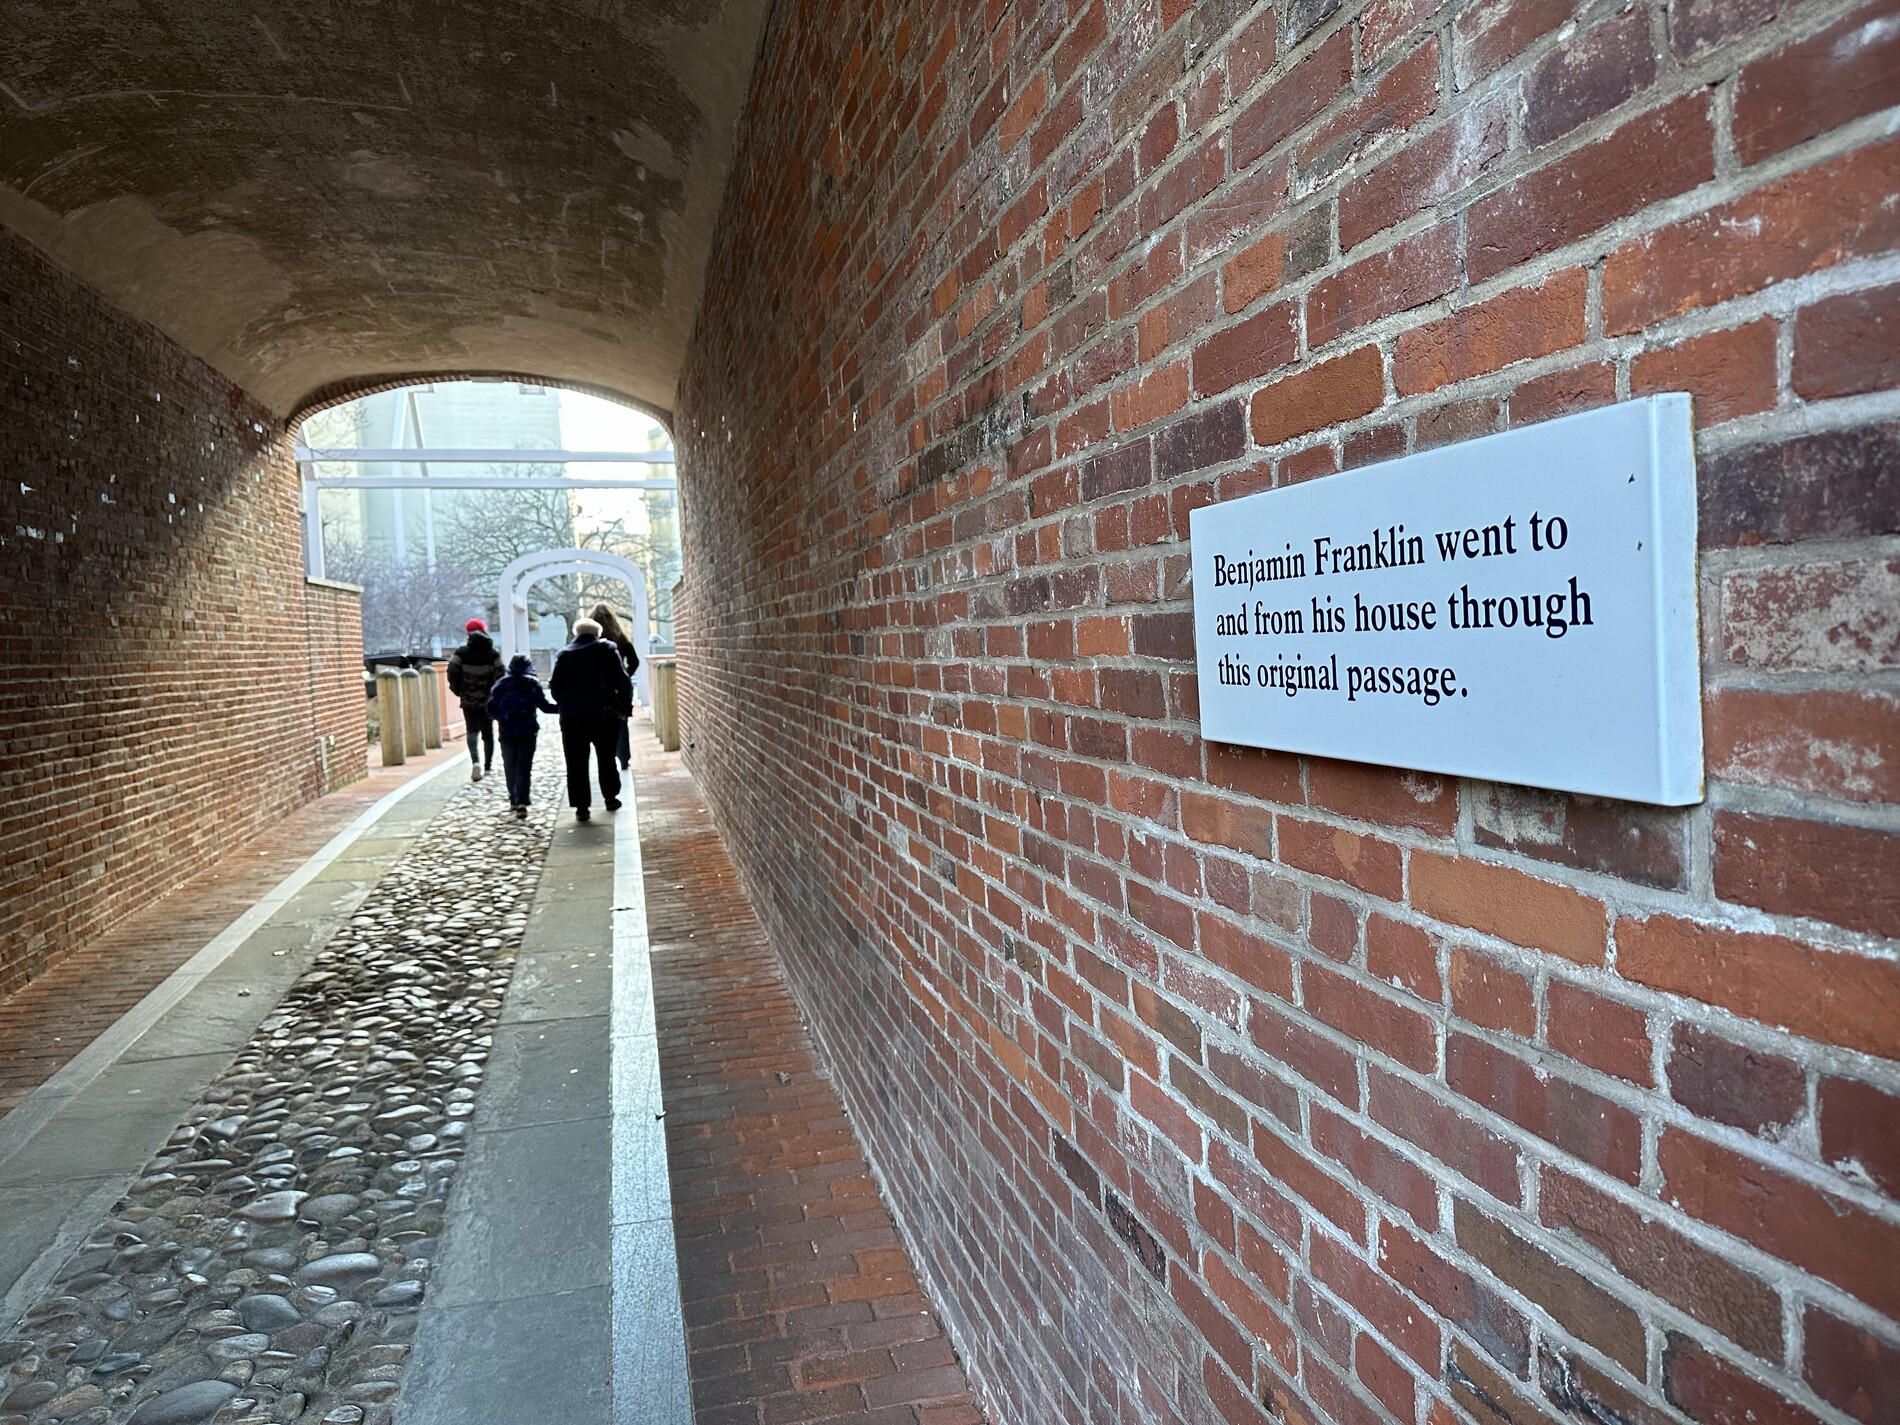
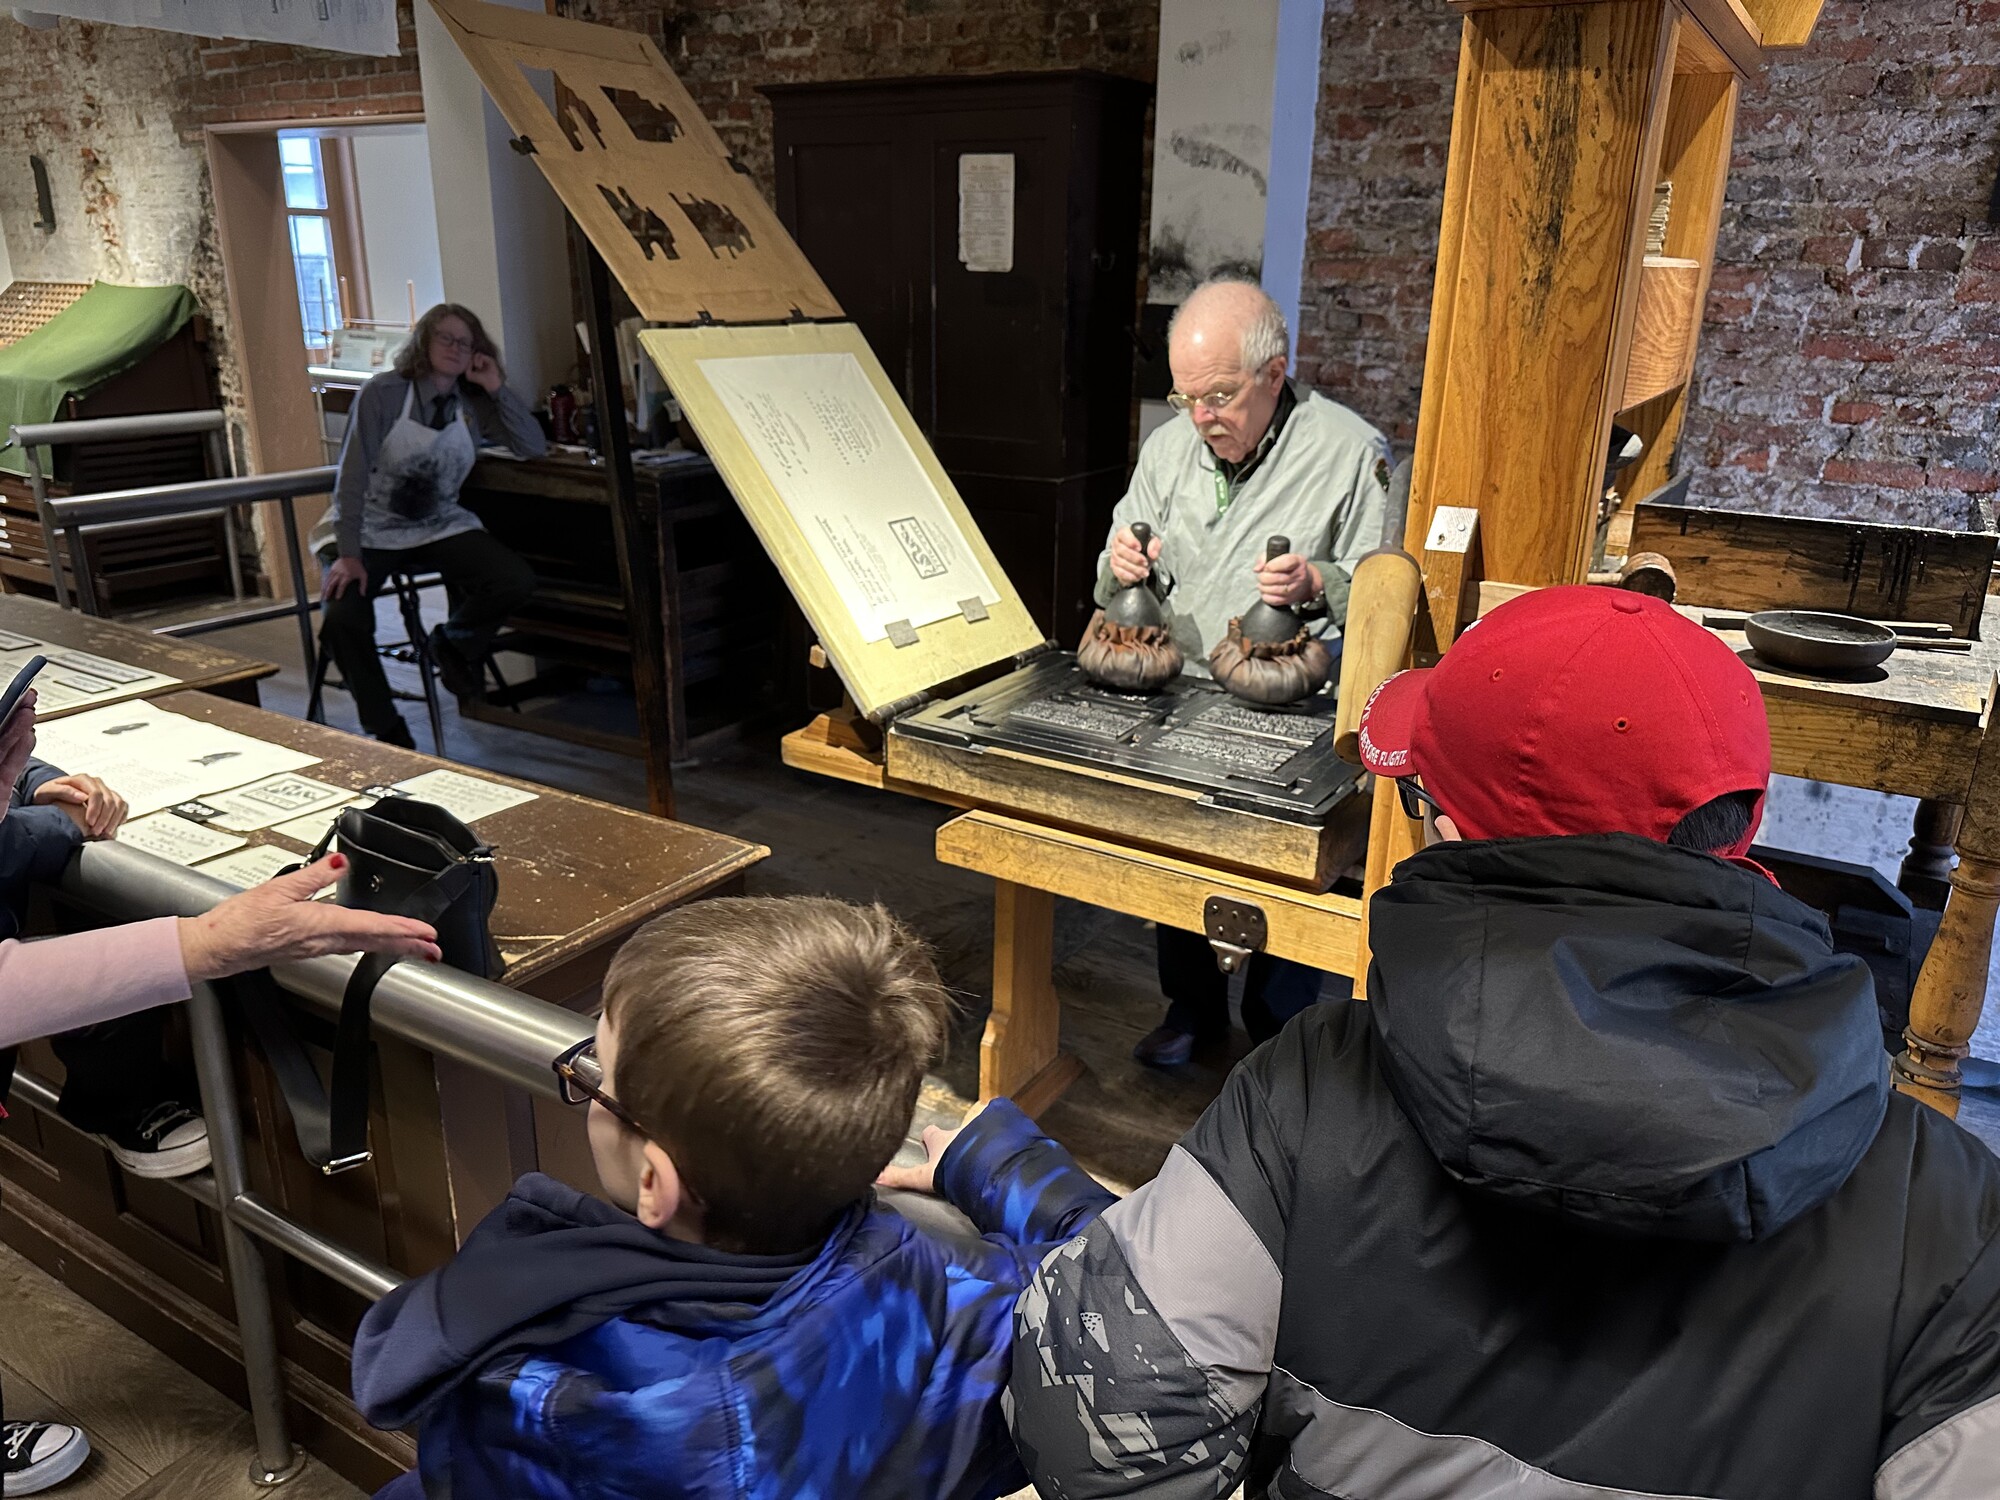
“Baba” didn’t feel up to doing much more walking, so he headed back to the visitors center while the rest of us went over to see Benjamin Franklin’s house a few blocks away. The house itself no longer stands, but there is a large frame outline of where it would have stood. His print shop is still there, and the NPS does a great job of running demonstrations of the techniques that Franklin and his associates would have used. They even sell items that have been printed there, but we didn’t buy any.
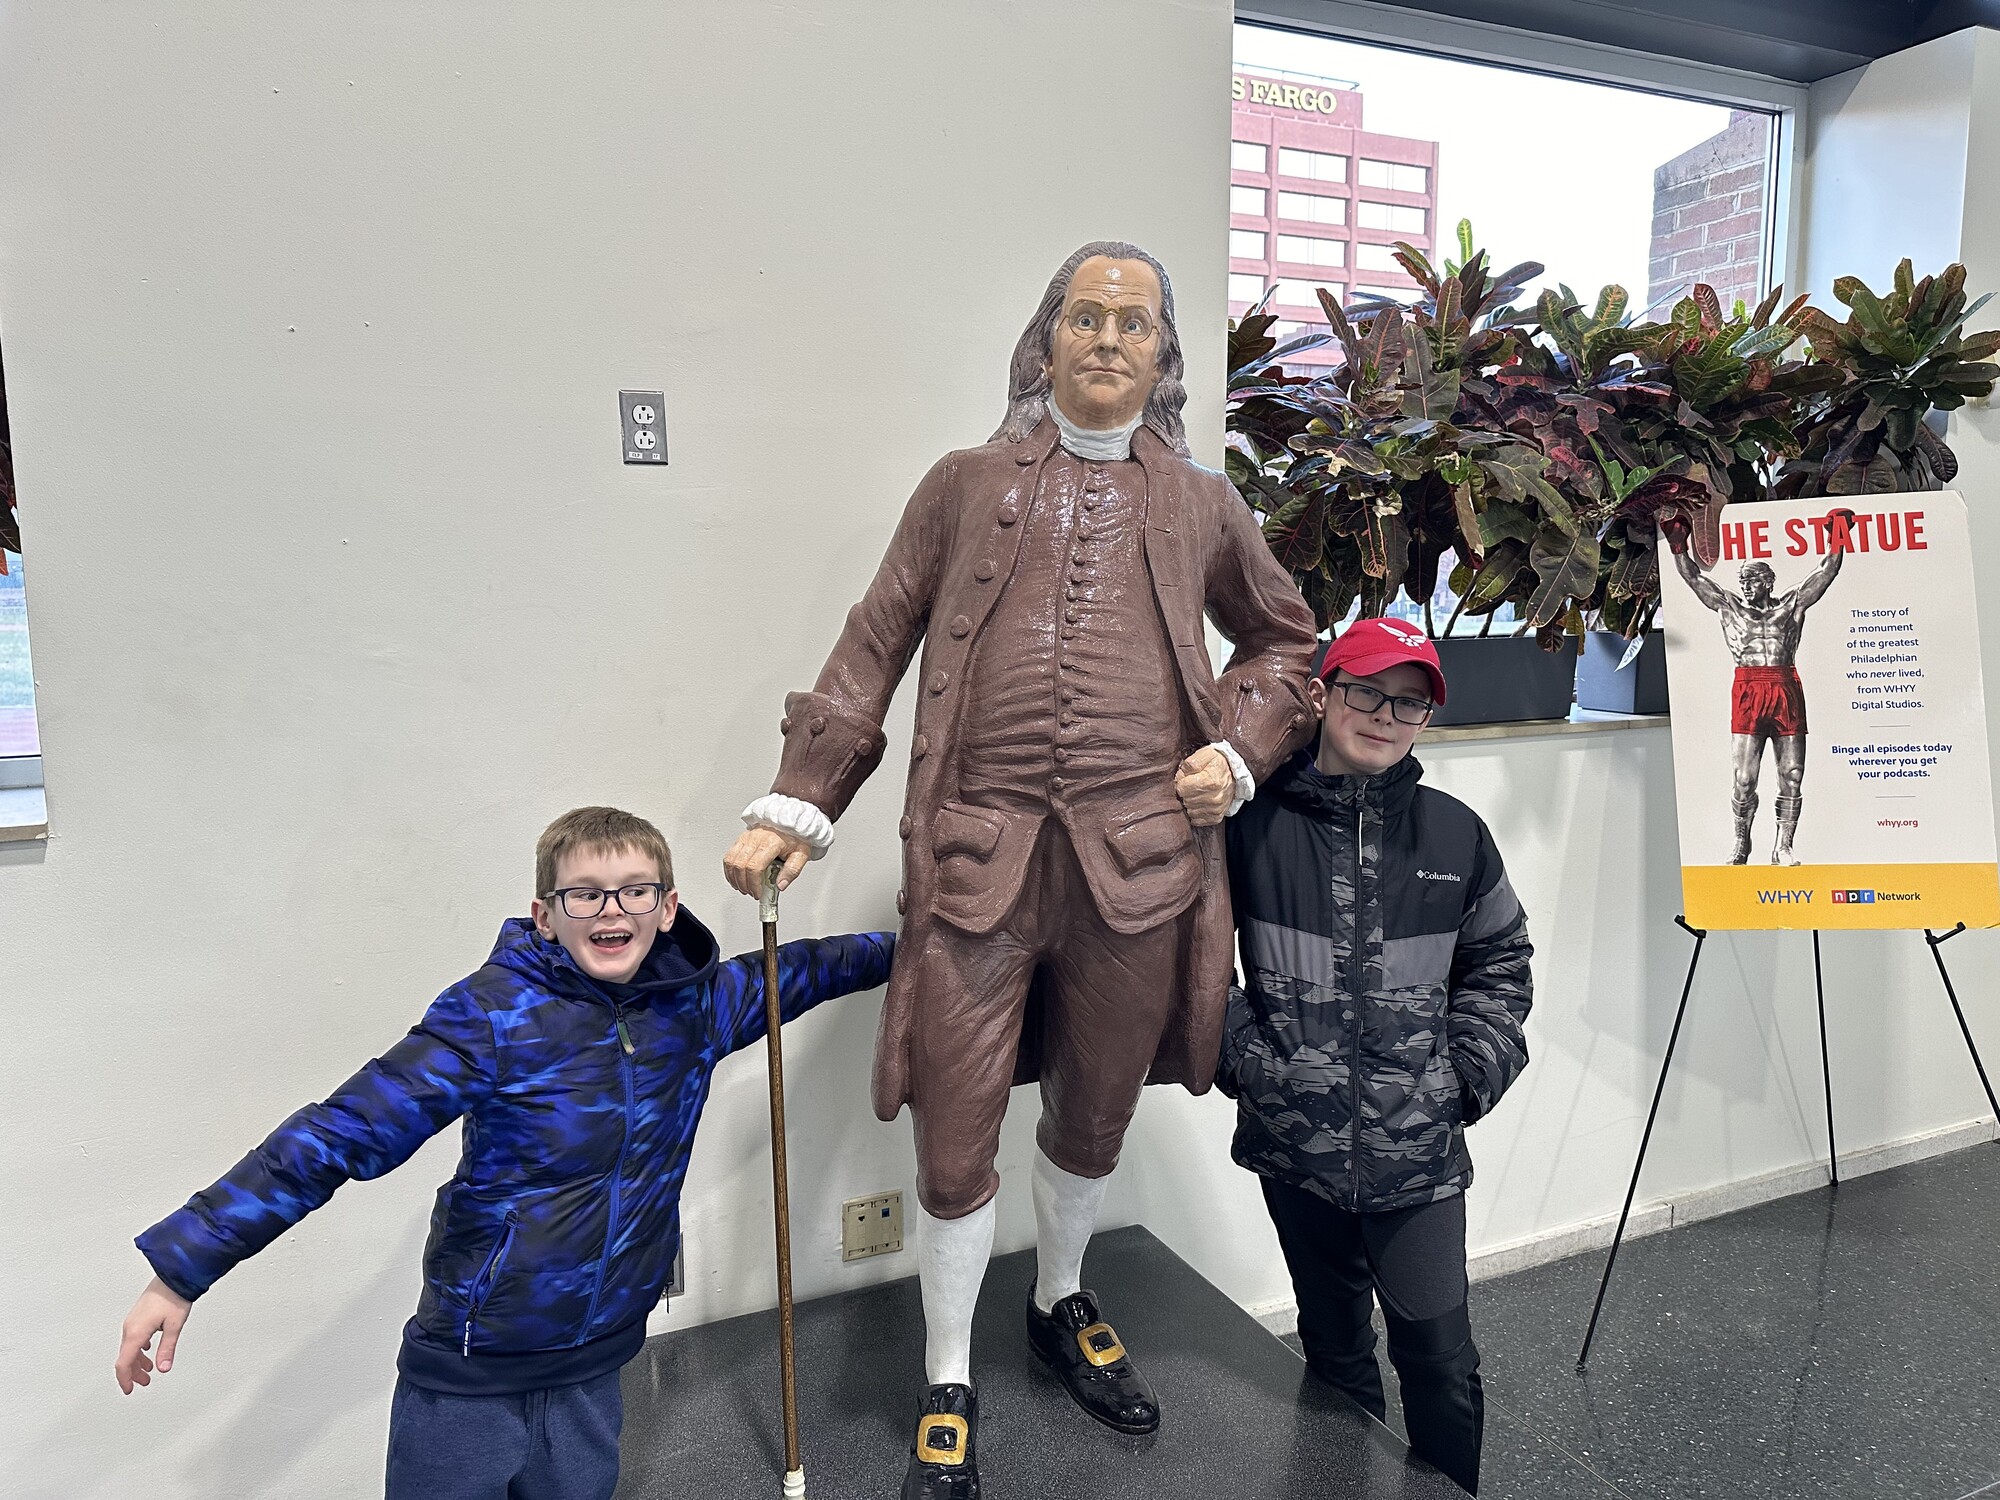
Literally walking in the footsteps of history. – Photo by the authorThe boys were very interested in the print shop demonstration. – Photo by the authorPosing with (maybe) our new favorite founder? – Photo by the author
Next to his house, there is an underground museum that walks through the many accomplishments that Franklin had in his life. He was certainly a renaissance man with a huge variety of life experiences. I think he knack for invention really resonated with my guys.
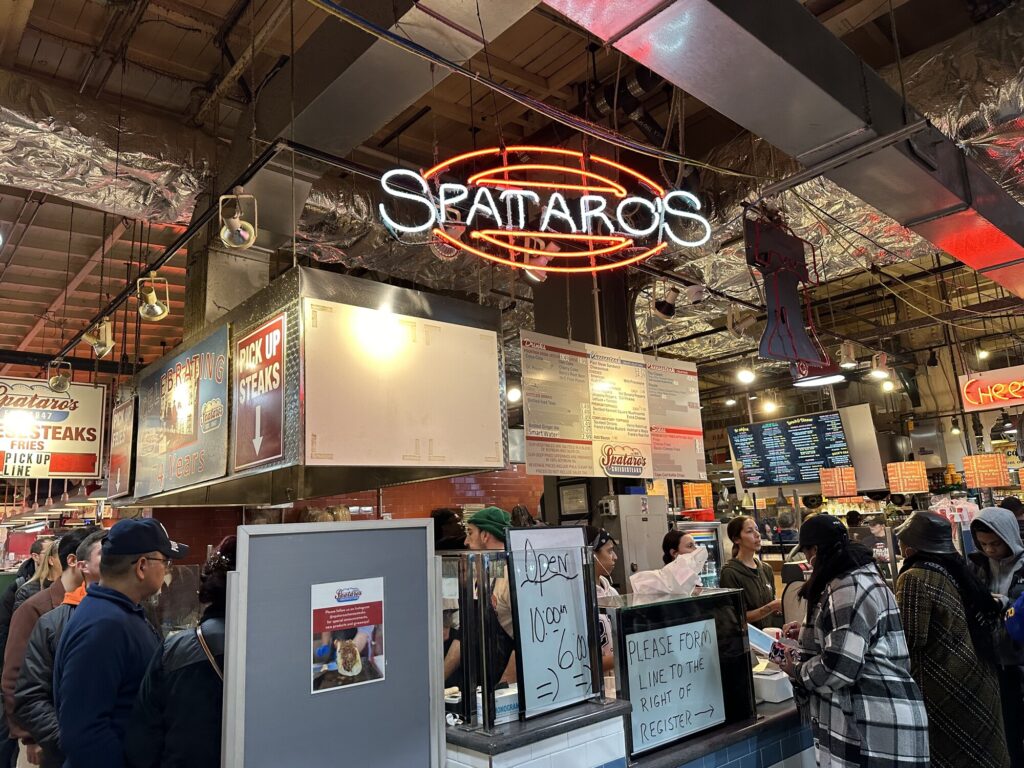
We met back up with “Baba” and drove over to our hotel to get checked in. We got dinner at the Reading Terminal Market so that we had plenty of variety to choose from. “Nene”, John, and I ended up getting cheesesteaks from Spataros. After such a hearty dinner, we had an evening swim at the pool, and got to bed to rest up for the next day.
We got some pretty good cheesesteaks at Reading Terminal Market. – Photo by the author
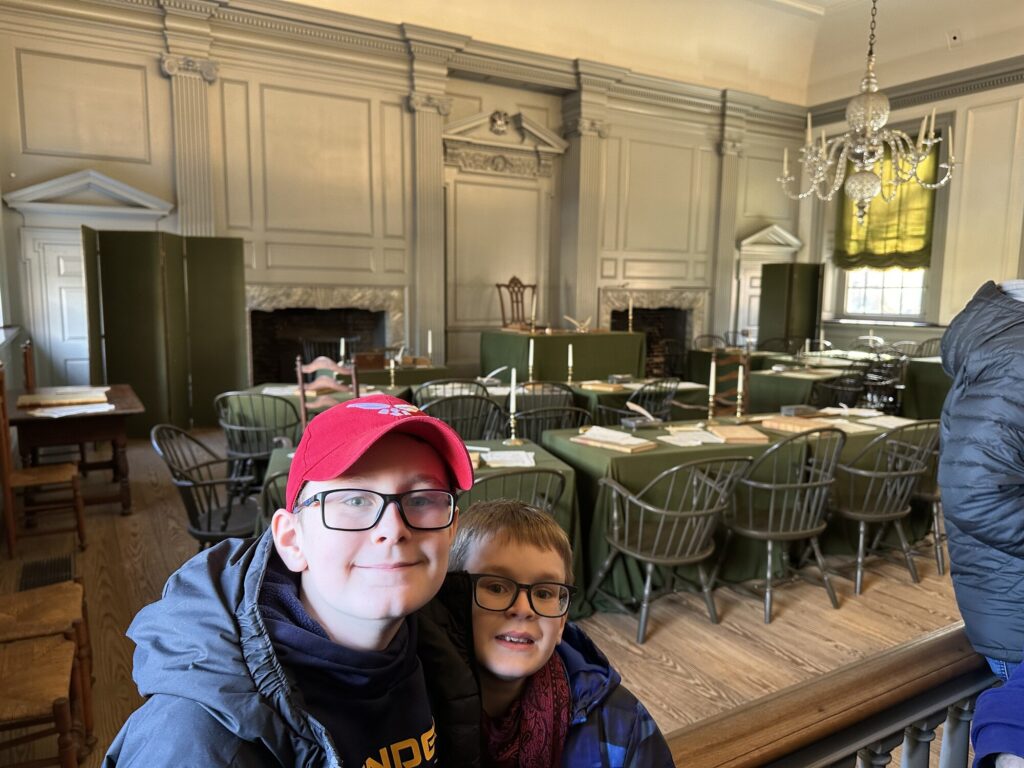
Keeping it simple, we got up in the morning and met up for the hotel breakfast. We got checked out, and then made our way back over to Independence Hall for a 10:30am tour.
It was really cool to stand in the room where both the Declaration of Independence and the Constitution were debated and – ultimately – adopted. It’s awe-inspiring to contemplate the weight of the decisions that were made here. The story of George Washington’s chair – it’s actually still there in that room, by the way – with sort of a half-sun motif near the top, and Franklin’s open rhetorical question as to whether the sun was rising or setting as they talked through the founding of our nation: that was a favorite moment for me.
Standing in the room where it actually happened. – Photo by the author
We didn’t end up finishing the Junior Ranger program on this trip. But you can probably guess, that’s only an excuse to go back.
We had one thing booked for our final full day in Key West, and it was going to be happening up by the old seaport. So we hopped on the bus and got up to that side of the island early.
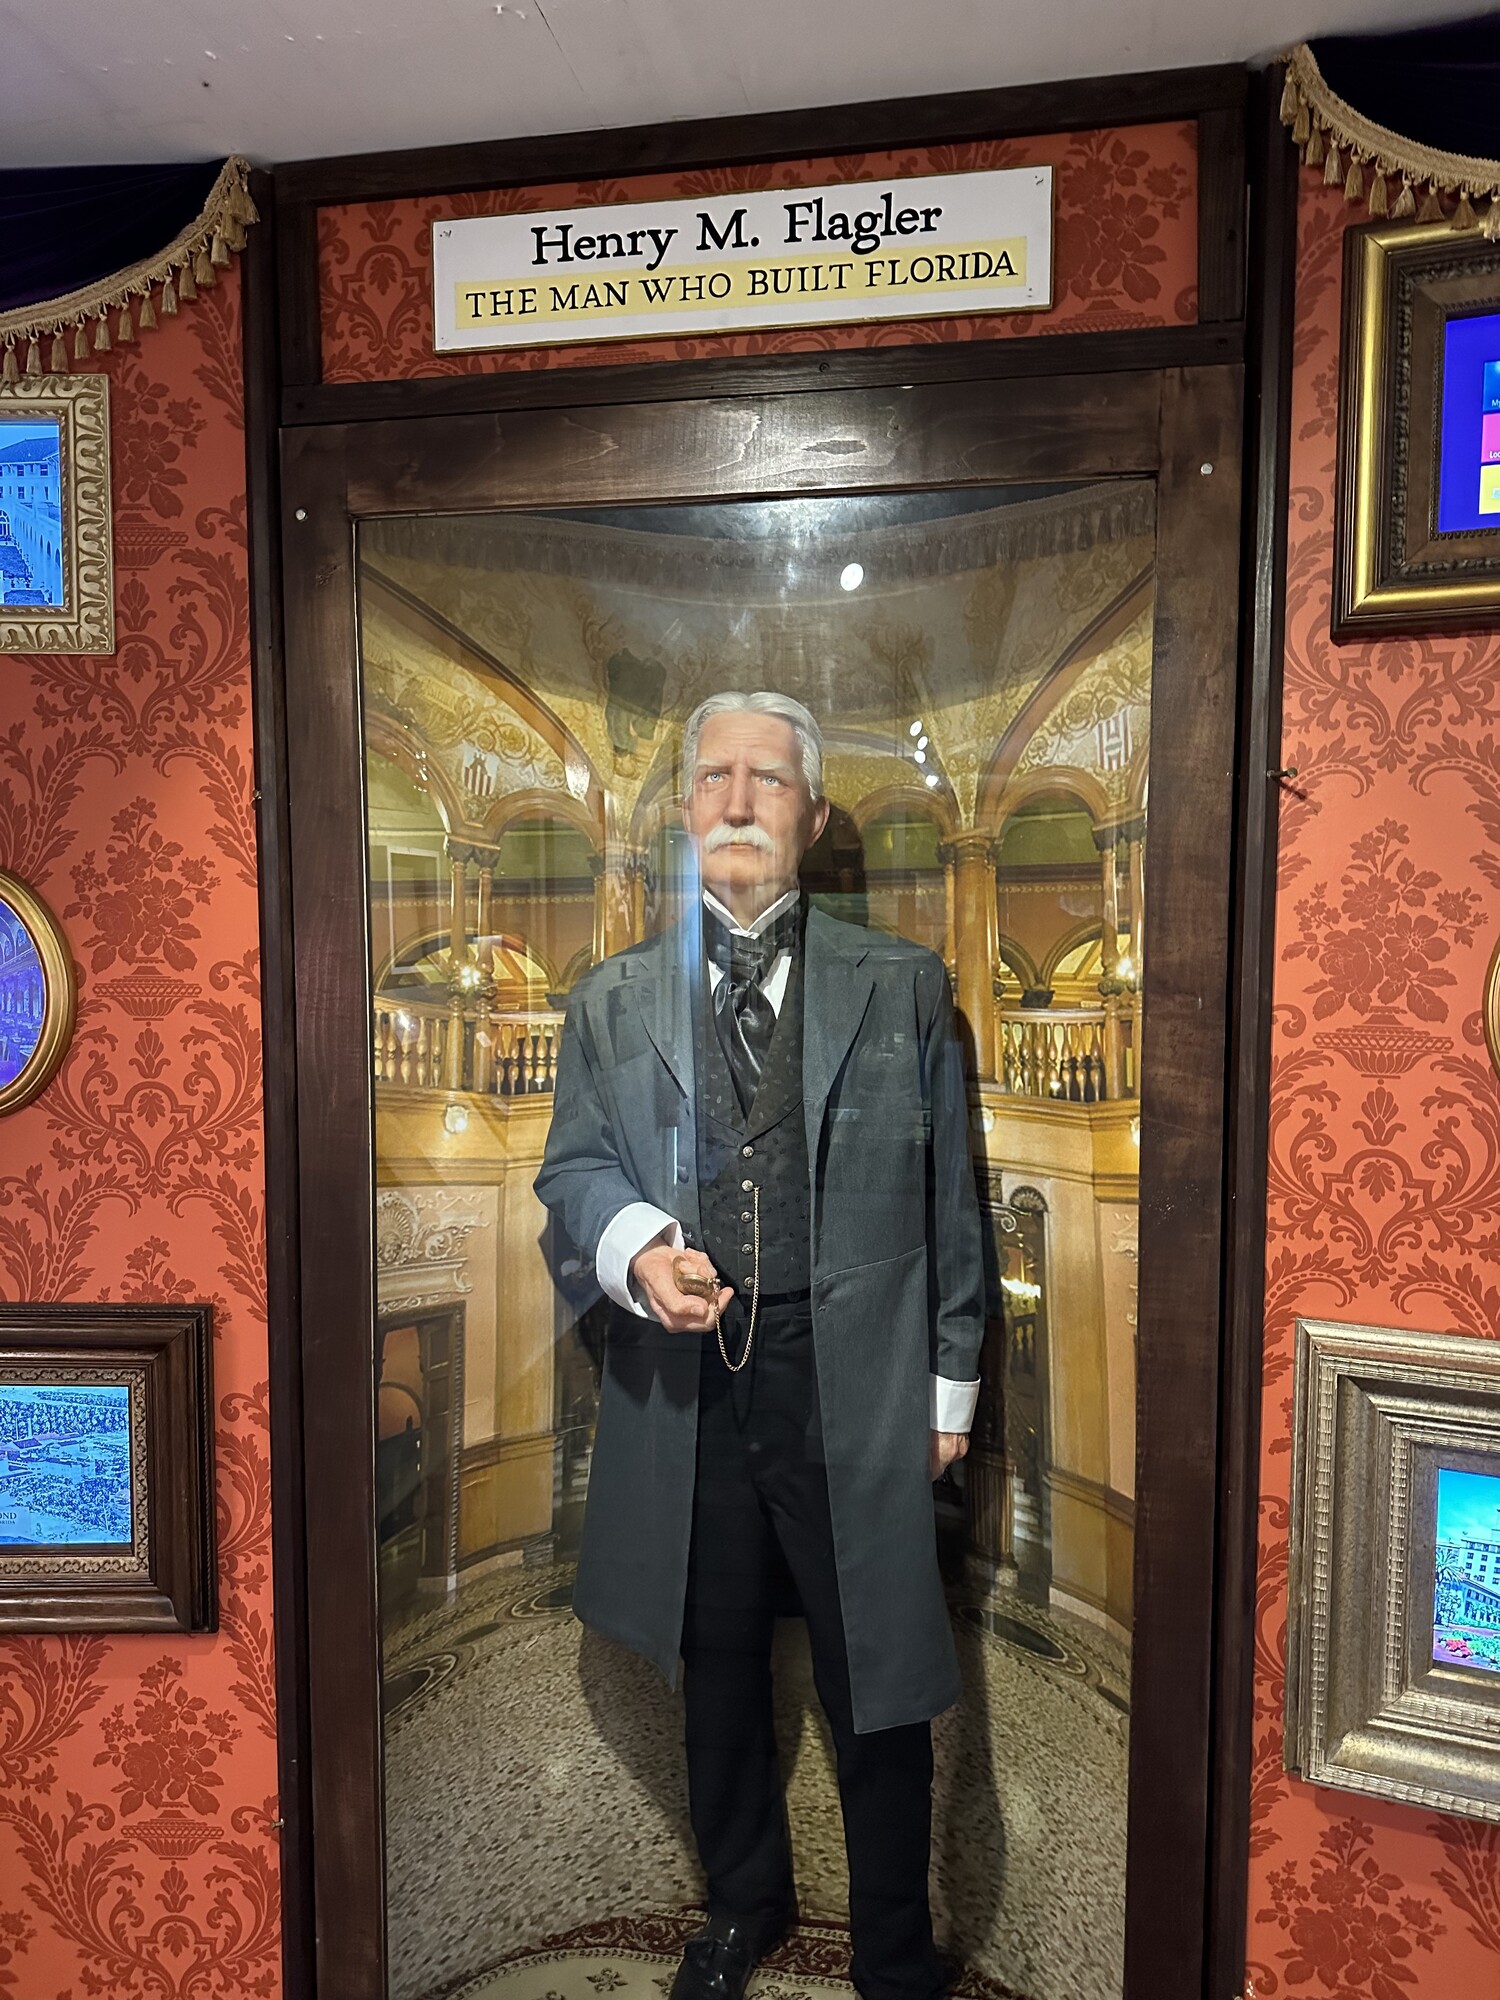
I had wanted to check out the Sails to Rails Museum, as someone we ran into had good things to say about it. It is a small, but well put together museum that tells the story of life in Key West from the days of the turtle, sponge, and wrecking industries. There is also a good bit about Henry Flagler and how he made Florida what it is today with the railroads. The route of modern US-1 follows what was originally a long rail line through the Keys.
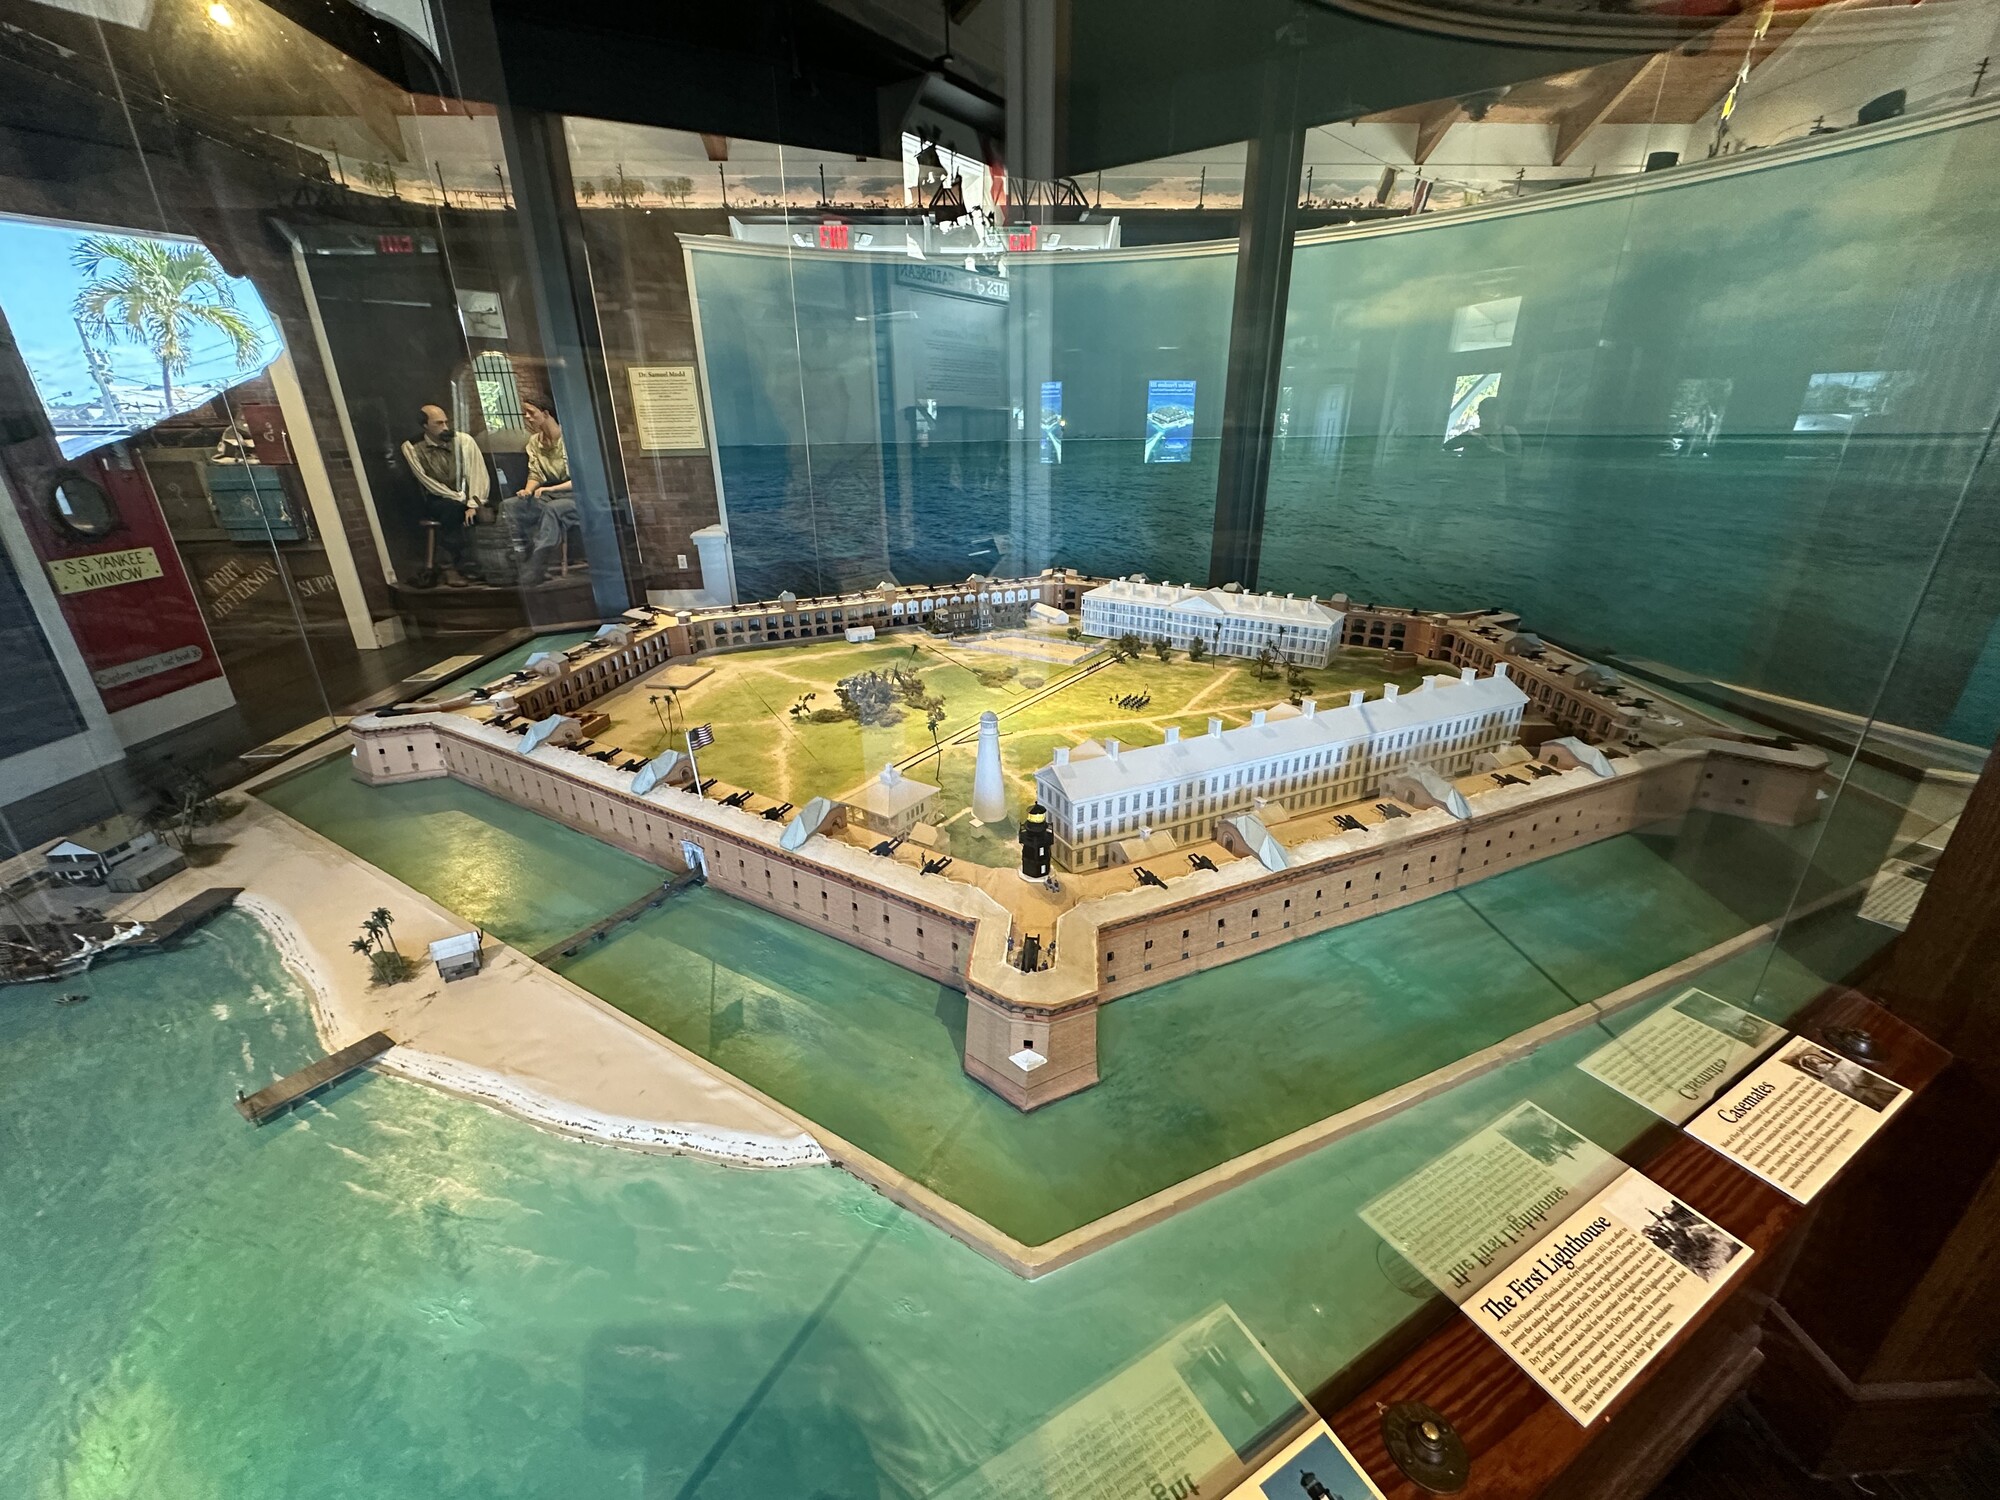
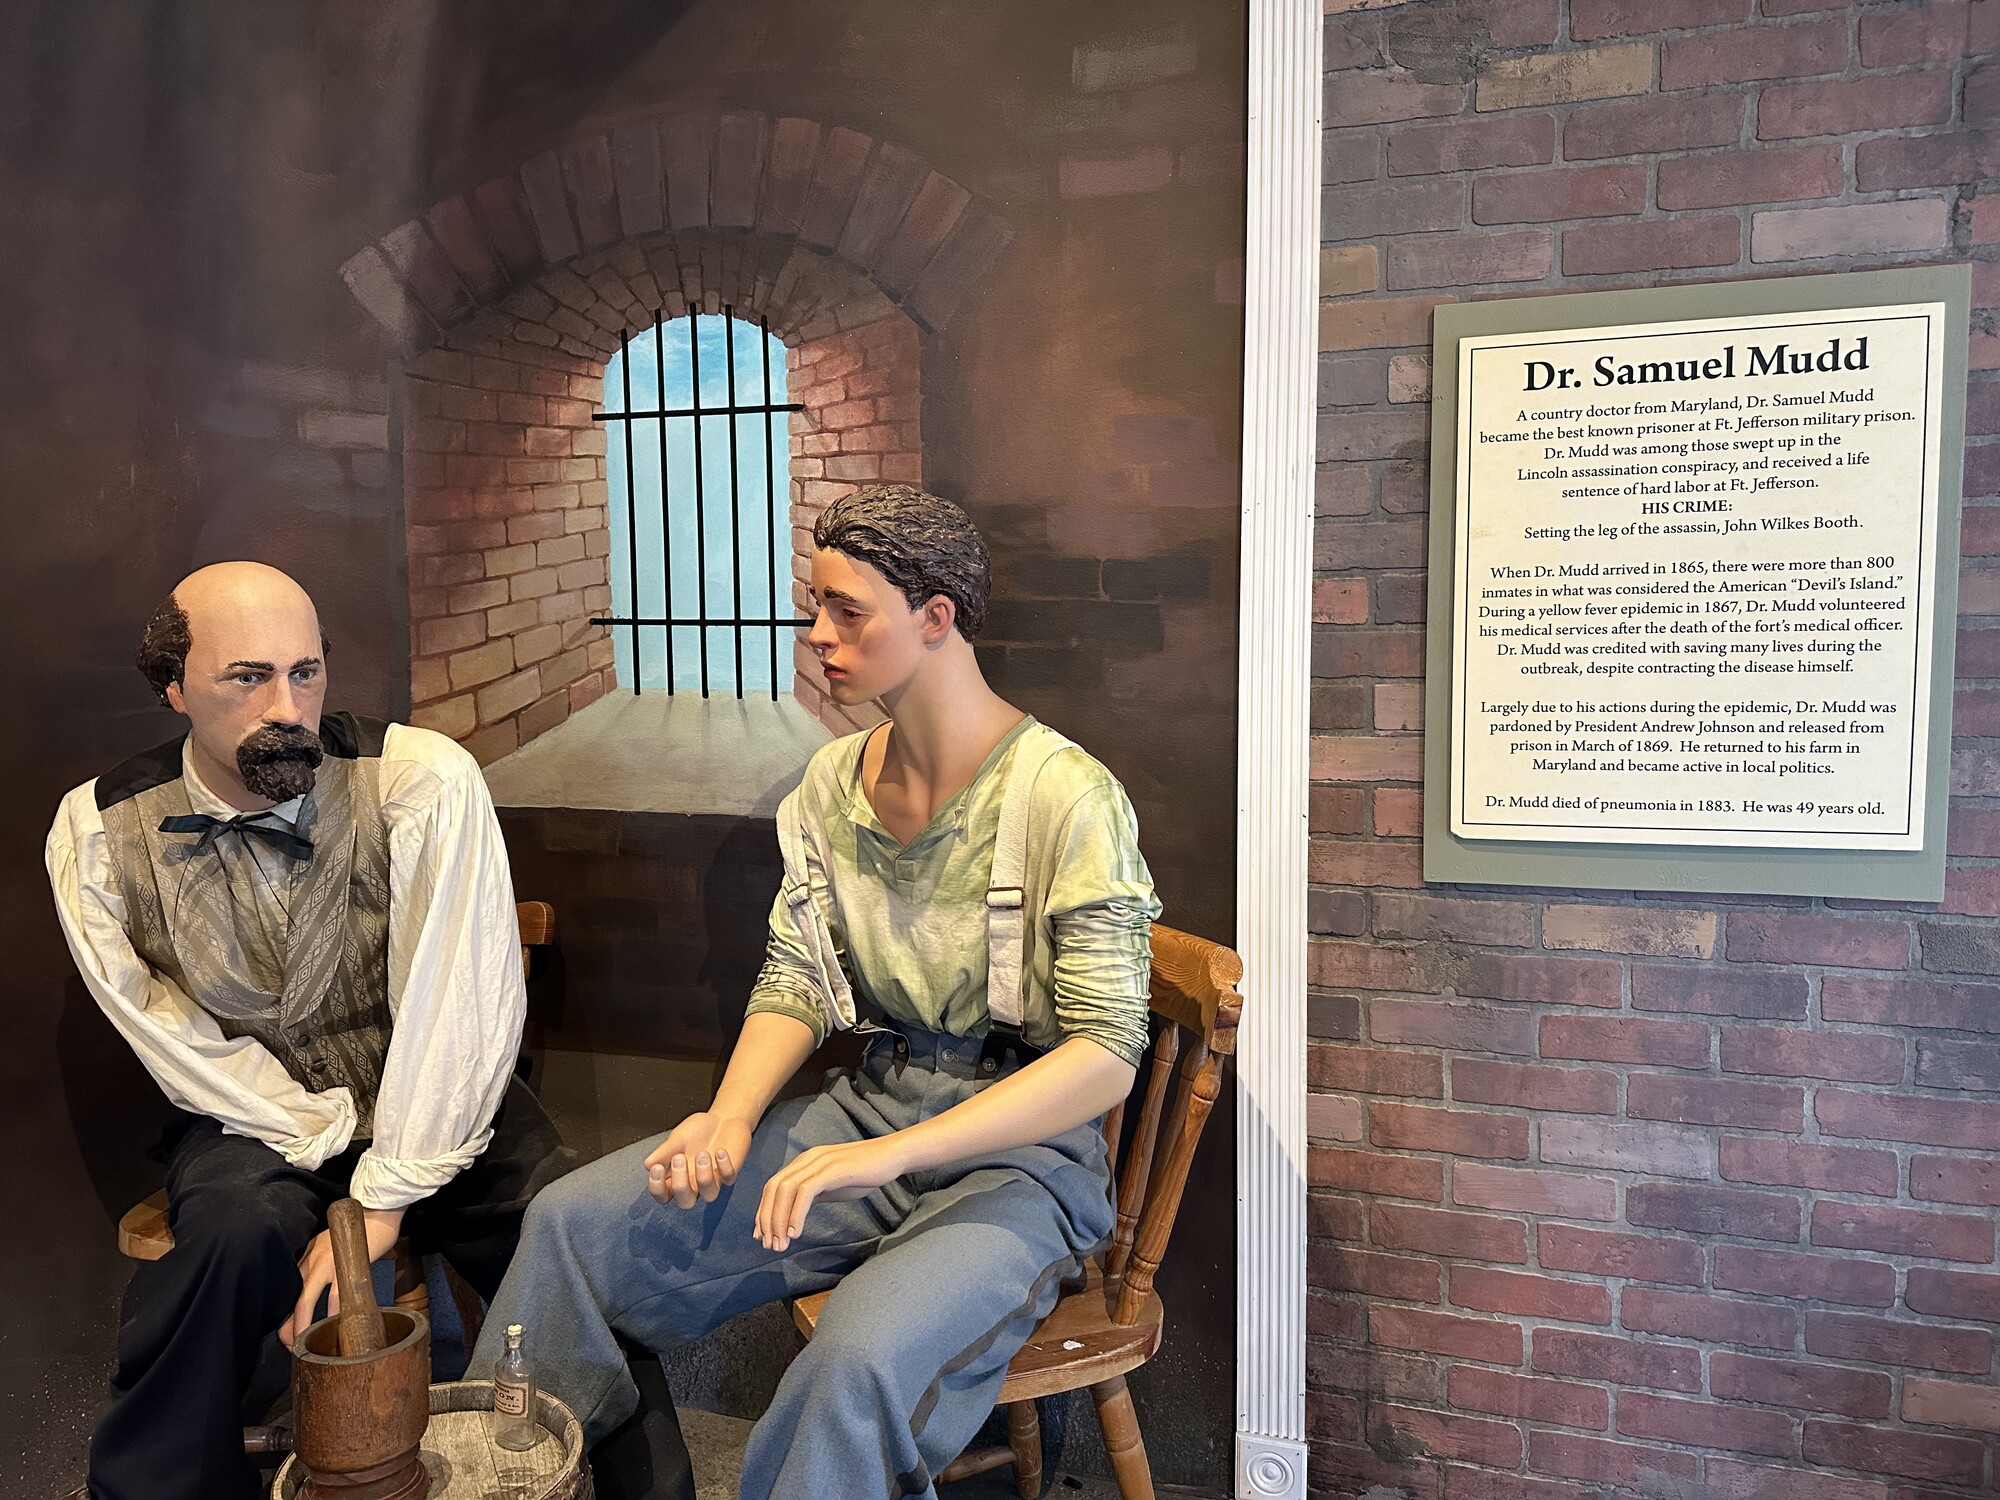
Henry Flagler brings the railroad – and the rest of the world – to Florida. – Photo by the authorVery nice model of Fort Jefferson at the museum. – Photo by the authorDr. Mudd makes an appearance as well. – Photo by the author
They even had a large model of Fort Jefferson, and an exhibit about Dr. Mudd. It was well worth the visit.
Snorkeling off Cottrell Key
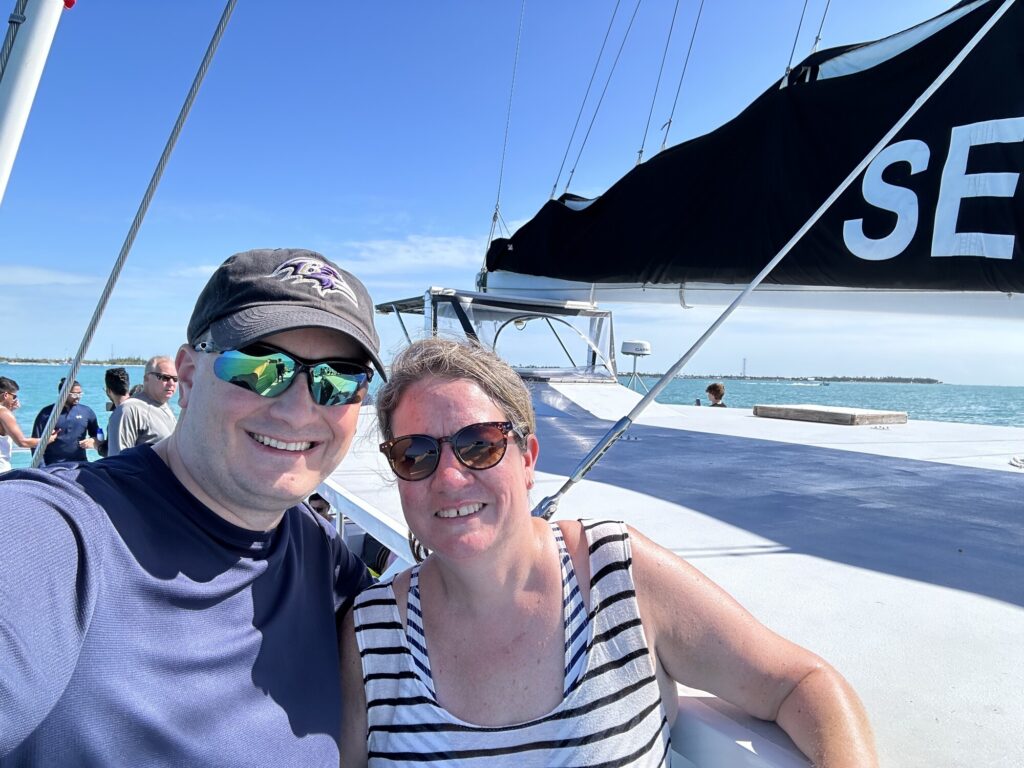
Our one planned activity was a snorkeling excursion aboard a catamaran. Emily had booked this in advance, and since I now had some practice from snorkeling in the Dry Tortugas, we were looking forward to this.
Emily and I aboard the catamaran. – Photo by the author
The cruise out to the island of Cottrell Key and back was fun – the crew of the boat definitely had some personality. We got to snorkel for a while, but honestly, it wasn’t as nice as the snorkeling at Fort Jefferson was. Things seemed less lively at this spot – probably because it get so many tourists day in and day out.
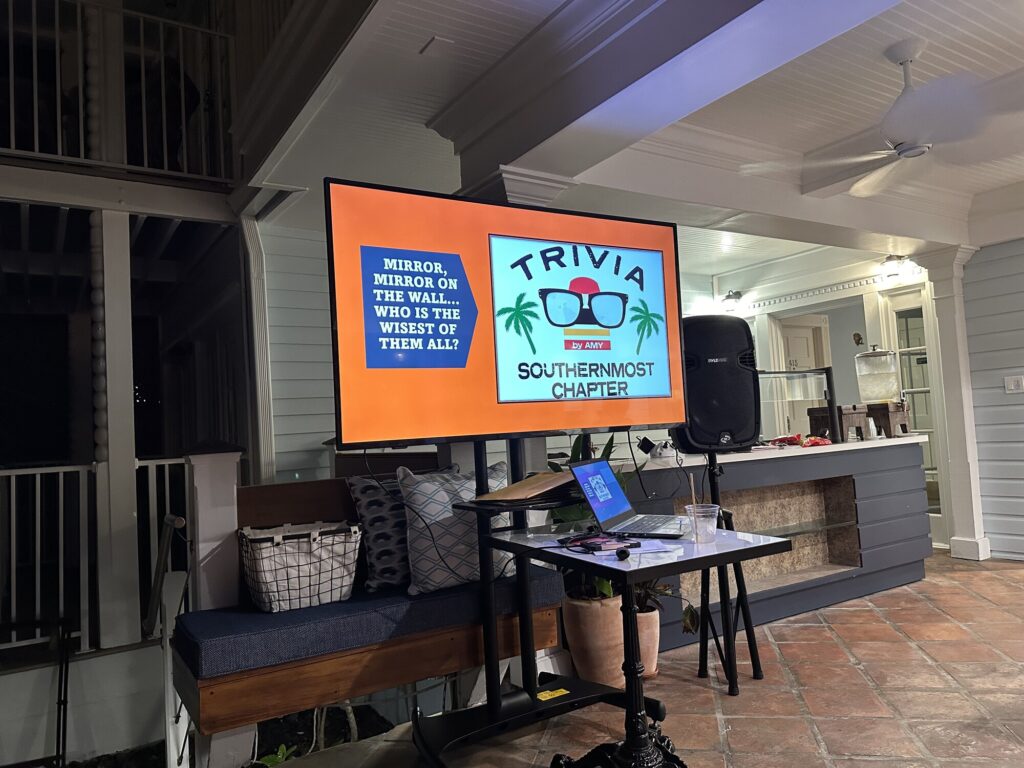
Trivia Night
After grabbing some dinner, we went back to the hotel and played trivia. Neither of us had done this before, but we lucked out in that some of the questions were about football, and none of the other teams seemed to have much knowledge in that area. We ended up coming in second place!
Trivia at the resort. – Photo by the author
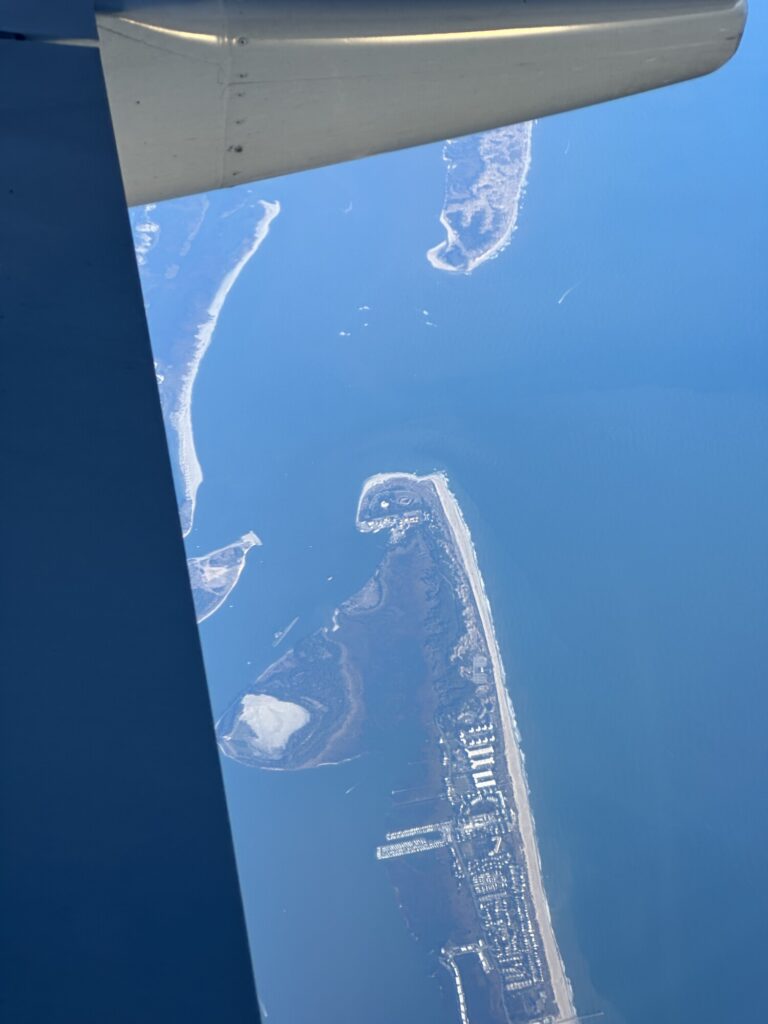
Flying Home
As we flew back to PHL, I took the window seat. I was really happy to pass right over Fort Macon – hopefully I’ll get to visit on the ground soon!
Fort Macon from ~30,000 feet. – Photo by the author