AD3PS
Since I’ve become more involved with amateur radio – including getting my Extra class license – I decided that I wanted to get a vanity call sign. My original call sign, KB3RLM, was assigned sequentially by the FCC when they gave me my initial license. That’s how it works for everyone at first.
A lot of people stick with their initial call sign for their entire lives, and that’s totally fine to do. Once you establish yourself on the airwaves, your call sign is how everyone knows you, so it can be tricky to go through a change because then you end up having to re-introduce yourself. It’s a lot like getting a new phone number.
So why bother changing? Well, there are several different types of call signs, so lets break down the structure of the system quickly:
All U.S. call signs start with either an A, K, N, or W. The original one that I had was what is called a “2×3” – a two-letter prefix, followed by a numerical region code, and then a three-letter suffix. The region code of “3” is assigned to licenses from Delaware, DC, Maryland, and Pennsylvania. One of the advantages of the sequential system is that it’s easy to estimate how long someone has been a ham (at least within your own region). I got KB3RLM in the summer of 2008, while my son Isaac got his KD3BSR in the summer of 2025.
If you have at least a Technician license, you can apply for a “1×3” which in the U.S. begins with K, N, or W, followed by a region code, and then a 3-letter suffix. These are fairly popular because these used to be handed out sequentially until they ran out of them, and a lot of folks try to get their initials in the suffix. The most sought-after call signs are the “1×2” (like my friend N3RY has) and “2×1” (like my friend WQ3Y has). These are the shortest call signs that you can get and people who are serious about making a LOT of contacts in a short amount of time (like during radio contests) find these to be very desirable. This is especially true of folks who operate with Morse code (“CW” in ham lingo). The “1×2” and “2×1” call signs are only available to holders of the highest-level Extra class license. That’s your incentive to study hard!
But contests don’t appeal as much to me. When I applied, I was trying to get a “1×3” that incorporated all three of my initials in the suffix. Unfortunately, I hit a snag because of the 2025 U.S. Federal Government Shutdown and the call sign that I wanted had it’s expiration date extended after I had applied. The call sign that I ended up with – which is still a very fine call sign – is AD3PS.
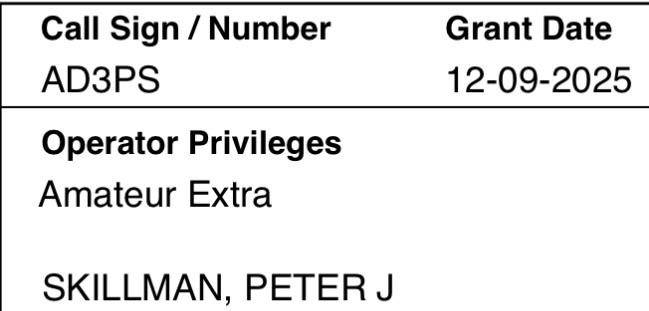
This is a format we haven’t discussed yet, the “2×2”. It was originally available to the holders of the old Advanced class license (beginning with a K, N, or W), and since the Extra class is a higher license, we can apply for them as well. In fact, a “2×2” that begins with an A is ONLY available to Extra class holders, and if you ask for a new sequential call sign on your paperwork when you get your Extra license, you’ll get one of these.
So my new call sign immediately identifies me as an Extra class ham, from Maryland / Delaware, and I was able to get one with my initials, PS, in the suffix. I’m pretty happy with how it all turned out.
If you’re thinking about getting a vanity call sign, I can highly recommend the websites radioqth.net, which has a very useful search tool; and ae7q.com which has a TON of different ways to look up licenses and even does application predictions. Once the change goes through, be sure to check out this post by Colin Cogle for a checklist of all the things you need to update in our digital ham radio world. All of these sites were very helpful in getting me through the process.